
Last Updated: November 6, 2026
Quick Summary
To adjust a guitar truss rod safely, loosen the strings, support the neck, and turn the nut only a quarter turn at a time. Measure neck relief with a capo and feeler gauge after each turn, and stop if the nut resists hard, cracks, or spins freely. Clockwise usually tightens the rod and reduces relief, while counterclockwise adds relief, so a careful truss rod adjustment is always done in small steps.
- Loosen the strings or remove them to reduce neck tension before you start.
- Turn the nut no more than a quarter turn at a time, then recheck the relief.
- Measure neck relief with a capo and feeler gauge and record the starting reading.
- Stop immediately if the nut resists hard, the neck cracks, or the nut spins freely.
- Clockwise usually tightens the rod and reduces relief; confirm direction with a test turn.
Table of Contents
- What a Truss Rod Does and How It Affects Neck Relief
- Safety Checklist and Stop Conditions Before You Start
- Truss Rod Adjustment Tools and How to Identify Your Truss Rod Access
- Guitar Neck Relief Measurement: A Repeatable Method
- Step-by-Step: Making Small Adjustments and Checking After Each Turn
- Single-Action vs Dual-Action Truss Rods and Acoustic or Electric Differences
- Separating Truss Rod Problems from Action, Saddle, and Humidity Issues
- When to Take Your Guitar to a Professional for Setup
- Your Next Step: Verify the Setup and Protect Your Guitar Between Adjustments
- Frequently Asked Questions
What a Truss Rod Does and How It Affects Neck Relief
Every guitar neck is under constant tension from the strings. Over time, that pull can bend the neck forward or backward. The truss rod is a steel bar sitting inside the neck that pushes back against that pull. Adjusting it changes how much the neck bows, which is called neck relief.
Neck relief is the small, gentle curve in the neck when you look down the fretboard. Recognize early warning signs of neck fatigue before the strain gets worse. Most players want a slight bow, not a perfectly flat neck. This gap gives the strings room to vibrate without buzzing against the frets. When the relief is off, the guitar can feel hard to play or sound rattly.
A common mistake is turning the truss rod adjustment just because the guitar buzzes. Buzzing often has other causes, so the truss rod should be the last thing you blame. Check the neck first, then decide.
Safety Checklist and Stop Conditions Before You Start
Truss rod work is low-risk when you respect the hardware, but the keyword asks about safety for a reason: a forced turn can strip the nut, crack the neck, or snap the rod, and those repairs often cost more than a full professional setup. Run this checklist before you touch the nut, and treat the stop conditions as hard limits, not suggestions.
Pre-adjustment checklist
- Identify the truss rod type and access point (headstock vs. body end) and confirm the correct tool size with a snug, wobble-free fit
- Loosen the strings by at least a whole step, or remove them, to reduce tension on the neck
- Support the neck along its length on a padded, flat surface so the headstock is not bearing weight
- Work in bright, even light and keep a small notepad to record the starting nut position and relief measurement
- Confirm the guitar has been in stable humidity (roughly 45-55% relative humidity is a common target) for at least 24 hours, since wet or dry wood moves and can mimic a truss rod problem
Stop immediately if any of these occur:
- The nut resists hard or will not turn smoothly after a quarter turn or less
- You hear cracking, popping, or creaking from the neck or nut area
- The nut spins freely without changing neck relief, which can indicate a stripped nut or a broken rod anchor
- The nut is near the end of its travel and the neck still is not correcting
- You see a sharp kink, a crack in the fretboard or neck, or finish lifting near the nut
- The tool slips or starts to round the nut corners
Watch out: A truss rod that will not budge is usually seized from corrosion, cross-threading, or a prior over-tightening, and more force will not fix it. Stop, note the condition, and hand the guitar to a qualified technician rather than risk a snapped rod.
Stopping early is always the safer choice. A truss rod that resists hard usually needs a professional, not more leverage.
The article's safety checklist lays out what to check and when to stop before any truss rod adjustment.
| Stop condition | What it may indicate | What to do |
|---|---|---|
| Nut resists hard or won't turn smoothly after a quarter turn | Seized rod from corrosion, cross-threading, or over-tightening | Stop and take guitar to a technician |
| Cracking, popping, or creaking from neck or nut | Neck or nut stress | Stop immediately |
| Nut spins freely without changing relief | Stripped nut or broken rod anchor | Stop and seek professional help |
| Nut near end of travel, neck not correcting | Rod has reached its limit | Stop; do not force further |
| Sharp kink, crack, or finish lifting near nut | Physical damage to neck or fretboard | Stop and seek professional help |
| Tool slips or rounds nut corners | Poor tool fit or worn nut | Stop and use a correctly sized tool or get help |
Truss Rod Adjustment Tools and How to Identify Your Truss Rod Access
Most guitars use one of a few common tools. The nut is usually at the headstock end of the neck, and some guitars put it at the body end under a cover plate. Look for a small hole or a cover near the headstock before you start.
Typical tools include:
- A hex key (Allen wrench) of the right size
- A socket or nut driver for hex or square nuts
- A flat-head screwdriver for slotted nuts
Check that the tool fits snugly with no wobble. A loose fit can round off the nut, which makes adjustments much harder later. If you are unsure which size fits, ask a guitar shop before you apply pressure.
Guitar Neck Relief Measurement: A Repeatable Method
Measuring relief gives you a clear before-and-after picture, so you are not guessing. The method below is repeatable and uses tools most players already own or can borrow from a shop. Do it before any adjustment and again after each small turn.
What you need
- A capo
- A set of feeler gauges (the thin metal strips sold at auto parts stores work fine)
- A reliable tuner
- A notepad or phone note to record the reading
Step-by-step measurement
- Tune the guitar to pitch. Relief readings are only meaningful under normal string tension, so do not measure with slack strings.
- Place the capo on the first fret of the string you are checking. The low E string is the usual reference because it shows the largest gap.
- Fret the same string at the last fret with your fretting hand (or use a second capo if you have one). This creates a straight line from the first fret to the last fret.
- Slide a feeler gauge between the bottom of the string and the top of the 7th or 8th fret. Try progressively thicker gauges until one just touches the string without lifting it.
- Record the gauge thickness that fits. That number is your relief measurement.
How to interpret the reading
Playing style, string gauge, and fret height all shift the relief target, so treat any specific range as a starting point rather than a rule.
- If the gauge that fits is thicker than your target, the neck has too much relief and needs the truss rod tightened (clockwise on most guitars).
- If no gauge fits or only the thinnest one does, the neck is too flat or back-bowed and needs the rod loosened (counterclockwise on most guitars).
- If the reading changes dramatically from one day to the next without an adjustment, suspect humidity or string tension rather than the rod.
Watch out: Measuring with old, dead strings or with the guitar out of tune will give you a false reading, and chasing that number can lead you to overtighten the rod. Tune up, use fresh strings when possible, and measure twice before turning anything.
Write down the reading before adjusting. That single number makes it easy to tell whether your turns are moving the neck in the right direction and when to stop.
Step-by-Step: Making Small Adjustments and Checking After Each Turn
Small changes are the key. Turn the nut only a little at a time, then check the neck again.
- Set the guitar on a stable surface and loosen the strings.
- Place the tool on the nut and check the fit.
- Make a gentle turn, about a quarter turn at most.
- Wait a minute or two, then retune and check the relief.
- Repeat small turns until the relief looks right.
Give the neck time to settle after each turn. Changes can take a few minutes to show up, so resist the urge to keep turning.
Which Direction to Turn and What Clockwise Versus Counterclockwise Does
On most guitars, turning the nut clockwise tightens the truss rod. That pulls the neck back and reduces forward bow, which flattens the neck. Turning counterclockwise loosens the rod and lets the neck bow forward more, which adds relief.
Always confirm the direction on your own guitar with a tiny test turn. Some instruments are built differently, so do not assume the pattern from a video applies to yours.
Single-Action vs Dual-Action Truss Rods and Acoustic or Electric Differences
Single-action truss rods only correct bow in one direction. They pull the neck back, so you can add or reduce relief but not push the neck the other way.
Dual-action truss rods can correct in both directions. They have a second rod or a different anchor, so they can handle a neck that has bowed backward. These are less common and may need more careful work.
Acoustic guitars often use the same basic setup as electrics, but their necks may respond differently to humidity and string tension. Bass guitars usually have heavier strings and may need more turns to see a change. Treat each instrument as its own case.
Separating Truss Rod Problems from Action, Saddle, and Humidity Issues
A buzzing or high action problem does not always mean the truss rod is wrong. Check these other causes first.
- Action: If the strings sit high above the frets, the bridge saddles or nut slots may need adjusting, not the truss rod.
- Saddle height: Uneven saddle heights can cause buzzing at specific frets.
- Humidity: Wood moves with the weather. A guitar may change shape after a season shift, which can look like a truss rod issue.
A good rule: adjust the truss rod only for neck bow, and handle action or saddle issues separately.
When to Take Your Guitar to a Professional for Setup
Some problems go beyond a simple truss rod turn. Take the guitar to a qualified technician if:
- The nut will not turn or feels stuck
- The neck has a sharp bend, a crack, or visible damage
- The guitar still buzzes or plays poorly after careful adjustment
- You are unsure about any step
A full setup includes the truss rod, action, intonation, and fret condition. A professional can check all of these together. Learn the signs that your guitar needs a professional setup rather than a DIY fix.
Your Next Step: Verify the Setup and Protect Your Guitar Between Adjustments
After adjusting, retune the guitar and play each string across the neck. Listen for buzzing and check that the action feels comfortable. Re-measure the relief, and note the result so you can compare it next time.
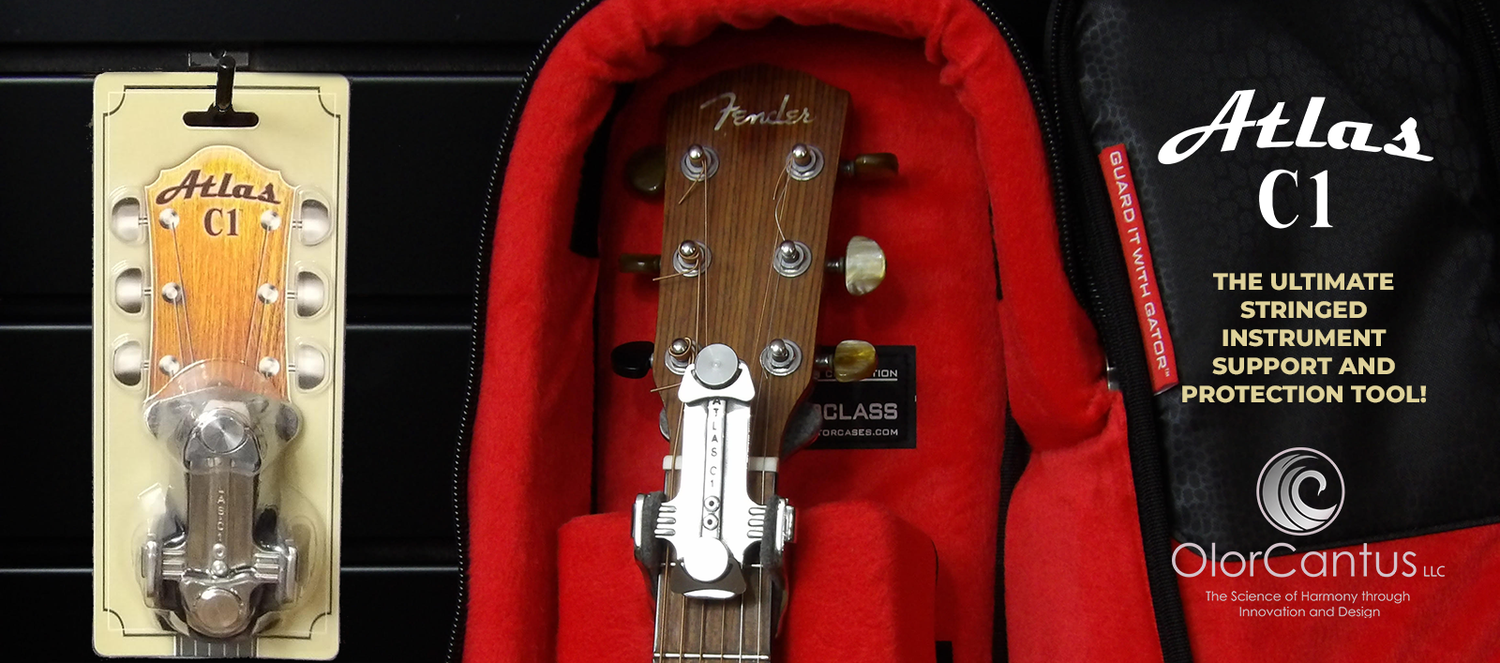
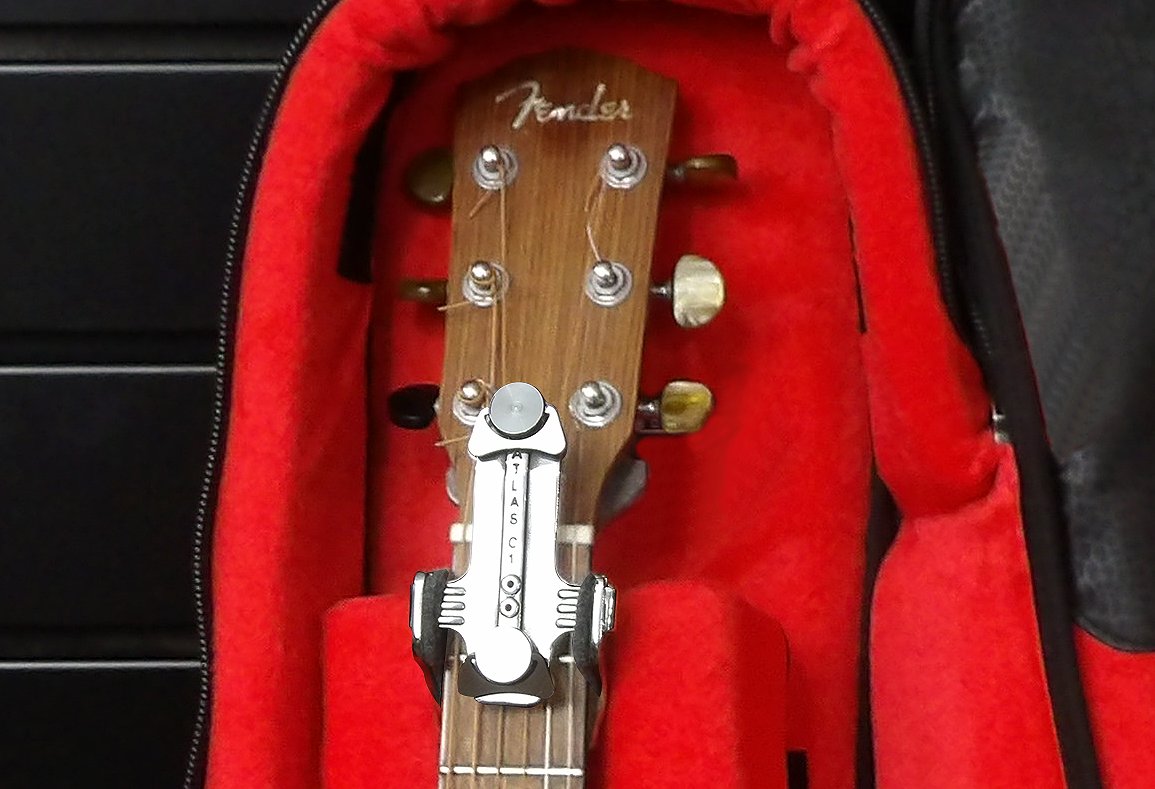
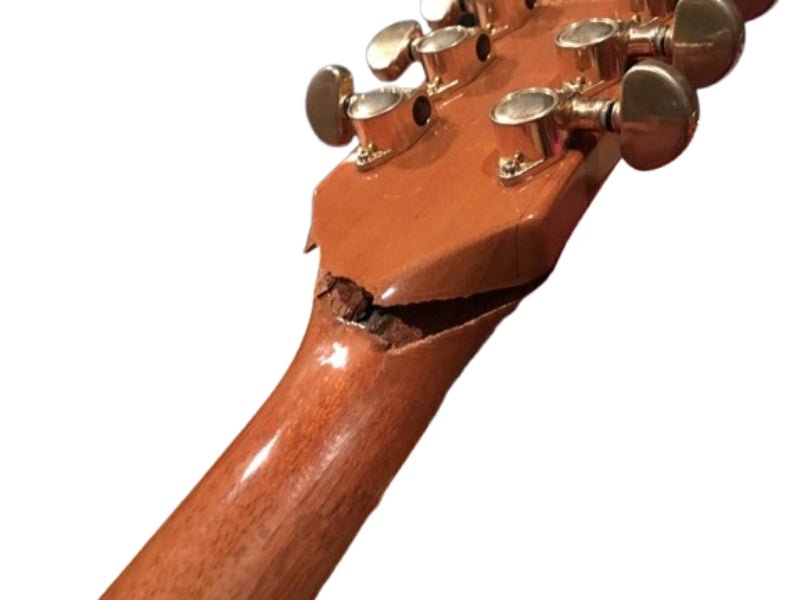
Protecting the headstock and neck between adjustments also helps. The Atlas C1 is a universal multi-function tool designed to protect the headstock-neck junction during travel, shipping, or storage, and it doubles as a pre-aligned repair jig for headstock breaks.
Atlas C1 offers a 10% product discount and free shipping, and you can check the Atlas C1 website for current pricing and details. Learn more about the Atlas C1 headstock support and protection tool or view the Atlas C1 tool's product details.
Protect your guitar, adjust it carefully, and make every turn count.
The Science of Harmony through innovation and design
Long Live the Six String™
Frequently Asked Questions
Which way do I turn my truss rod to lower action?
Tightening the truss rod, turning it clockwise on most guitars, adds upward bow to the neck and reduces relief, which can lower the action at the middle frets. Loosening it, turning counterclockwise, does the opposite. Make only a small quarter turn, let the guitar settle for a while, then check relief again. Because action also depends on the saddle and nut heights, check those before assuming the truss rod is the cause.
Do you adjust the truss rod with strings on or off?
Most technicians loosen the strings to reduce tension before adjusting, which makes the neck easier to move and makes relief measurements more accurate. You can take readings with strings on if you prefer, but note that tension changes the result. Whichever you choose, use the same condition every time you measure so your before-and-after comparisons are consistent.
Can adjusting a truss rod damage a guitar?
Yes, if you force it. A seized nut, a rod that resists turning, or a large adjustment in one go can strip the nut or damage the rod. Stop immediately if you feel strong resistance or hear cracking, and take the instrument to a qualified technician. Working slowly, in quarter-turn increments, and checking relief between turns greatly reduces the risk.
How do I know if my guitar neck needs a truss rod adjustment?
Sight down the neck from the headstock with the strings tuned to pitch and look for a relief gap at the seventh or eighth fret. Fret buzz that appears only on certain notes, or action that feels uneven, can also point to relief problems. If buzzing persists after a relief check and small adjustment, look at the nut, saddle, and humidity before concluding the truss rod is at fault.