
Quick Summary
For most guitar setup work, use a neck cradle on a padded bench. A padded bench protects the body and finish, but only a cradle holds the neck at a consistent angle so your hands stay free for truss rod, fret, and string work. Light cleaning and inspection can be done on a padded bench alone.
- A padded workbench protects the body and finish but does not control neck position.
- A neck cradle holds the neck steady, keeping your hands free for truss rod and fret work.
- Fret leveling needs body restraint, because downward pressure can make the guitar slide.
- Support the neck near the heel for electric guitars and check that the headstock stays level.
- Protect the headstock during transit and repair, and check that your guitar has 3-on-3 tuners.
Table of Contents
- What a Guitar Neck Cradle and a Padded Workbench Each Do
- Stability and Safety by Repair Task
- Neck Geometry, Pressure Points, and Support Placement
- Protecting the Neck and Finish During Setup
- Neck Support for Electric, Acoustic, and Bass Guitars
- Best Guitar Neck Cradle for Luthier Work
- How to Prevent Headstock Damage During Guitar Repair
- Budget and Value Comparison
- Building a DIY Guitar Setup Workstation You Can Trust
- Frequently Asked Questions
Neck Cradle vs Padded Workbench for Guitar Setup
Last Updated: November 16, 2026
What a Guitar Neck Cradle and a Padded Workbench Each Do
Our pick for most setup work: a neck cradle, used on a padded bench. The two tools solve different problems, so the real question is which problem you have. A padded workbench gives you a flat, protected surface. A neck cradle holds the instrument's neck and headstock at a specific angle so your hands stay free for the work itself.
Players often assume a towel over a table is "good enough." It works for some tasks and fails badly for others. A workbench protects the body and finish from scuffs. It does not control where the neck sits or how the headstock moves when you apply pressure.
A neck cradle is a dedicated support. It cradles the neck near the heel or at the headstock, so the guitar stays put while you adjust the truss rod, level frets, or change strings.
Here is how the two compare at a glance:
| Factor | Neck cradle | Padded workbench |
|---|---|---|
| Main job | Holds the neck in position | Protects the body and surface |
| Neck control | Strong, adjustable | Limited, depends on placement |
| Hands-free work | Yes | Often no |
| Setup required | Clamp or mount, position, test | Clear a flat surface |
| Best for | Truss rod, fret, and string work | Light cleaning and inspection |
| Typical downside | Adds one more tool to buy | Guitar can slide or tip |
Watch out: If you rely only on a towel, the guitar can slide when you apply downward pressure during a fret level. Use a support that holds the neck, not just a soft surface under it.
Stability and Safety by Repair Task
Stability is not one requirement, it changes with the task. The useful question is not "cradle or bench?" but "how much restraint does this job need?" The table below compares the two setups task by task, which is the comparison most discussions of neck rests and workbench mats never make.
| Task | Padded workbench alone | Neck cradle on padded bench | Extra restraint needed? |
|---|---|---|---|
| Wiping fretboard, cleaning hardware | Sufficient | Sufficient | No |
| Checking string height and relief | Sufficient if the guitar does not slide | Better, neck held at a consistent angle | No |
| String changes | Workable, but the loose guitar can tip when you pull strings | Cradle or stand with a padded yoke keeps the neck from dropping | A body block or non-slip mat helps on slick benches |
| Truss rod adjustment | Not recommended, the neck can shift mid-turn | Cradle with a firm, non-slip base | No, if the cradle grips |
| Fret leveling and dressing | Insufficient, downward pressure makes the guitar slide | Cradle spreads load, but the body still needs support | Yes, body restraint or a dedicated neck jig |
| Fretwork with clamping or hammering | Insufficient | Insufficient on its own | Yes, a repair jig or neck caul that holds the instrument rigid |
| Headstock or neck repair | Insufficient | Insufficient | Yes, a dedicated headstock support and alignment jig |
The pattern is consistent: a padded bench protects the finish, a cradle controls the neck, and forceful tasks such as fretwork and clamping need a third layer, restraint that holds the body and neck rigid.
Watch out: A cradle that grips the neck but lets the body slide is a trap during fret leveling, the guitar pivots at the cradle and the neck takes the load. Check that the body is blocked or padded so it cannot move before you apply downward pressure.
For light work, a padded bench is genuinely sufficient, and adding a cradle is convenience rather than safety. For string changes, a cradle or a stand with a padded yoke prevents the neck from dropping when tension comes off. For truss rod and fret work, the cradle earns its place. For headstock repair, neither option is enough on its own, the joint needs to be held in alignment, which is a different job than supporting the neck.
Neck Geometry, Pressure Points, and Support Placement
Where you place the support matters as much as which support you use. The neck angles back from the body, and the headstock sits above the nut. Support the neck too close to the headstock and you may stress the joint. Support it too far down and the headstock can droop.
Pressure points are the spots that carry load during work. The heel joint, the area just behind the nut, and the body-to-neck junction all take stress when you press on the fretboard or turn a truss rod. A well-placed cradle spreads that load across padding rather than concentrating it on one point.
For most electric guitars, start with the cradle under the neck near the heel and check that the headstock is level or slightly raised. For acoustic guitars, the body is larger and heavier, so the support should carry more of the body weight while keeping the neck stable. For bass guitars, the longer neck often needs support at two points.
Test the placement before you apply pressure. Lift the instrument slightly and see whether it rocks. If it does, adjust the cradle before you start the task.
Protecting the Neck and Finish During Setup
Protecting the finish is the second job of any setup tool. Scratches, dents, and finish wear often happen during routine work, not during dramatic accidents.
Cork and neoprene are common contact materials because they are soft enough to avoid marking most finishes. The Stringjoy cork rest is presented as finish-safe for that reason. Still, any contact surface can trap grit, so wipe it down before each session.
Keep a clean cloth between the instrument and any hard surface. Check the padding for flattened spots or embedded debris, since these can leave marks on the next job. Move the guitar slowly and avoid dragging it across the bench.
A common mistake is clamping a support too tightly on a thin or finished neck. Tighten until the support holds, then stop. More force adds risk without adding stability.
Neck Support for Electric, Acoustic, and Bass Guitars
Each instrument type puts different demands on a support.
Electric guitars usually have slimmer bodies and a neck joint that can be sensitive to uneven pressure. A cradle under the heel or just behind the nut works well, and the lighter body makes positioning easier.
Acoustic guitars are heavier at the body and often have a larger top that can rest on padding. The cradle should share the weight so the neck does not carry the full load. Check that the body sits stable before you start.
Bass guitars have long necks, and a single support point can let the headstock tip. Many players use a support near the heel with a second point near the headstock, or a stand with a wide yoke.
Choosing support height and orientation is the final step. Set the height so the instrument sits at a comfortable working angle, roughly level with your hands, and orient the neck so you can reach the headstock and body without twisting the guitar.
Best Guitar Neck Cradle for Luthier Work
A neck cradle that cannot hold a consistent angle will cost time on every job.
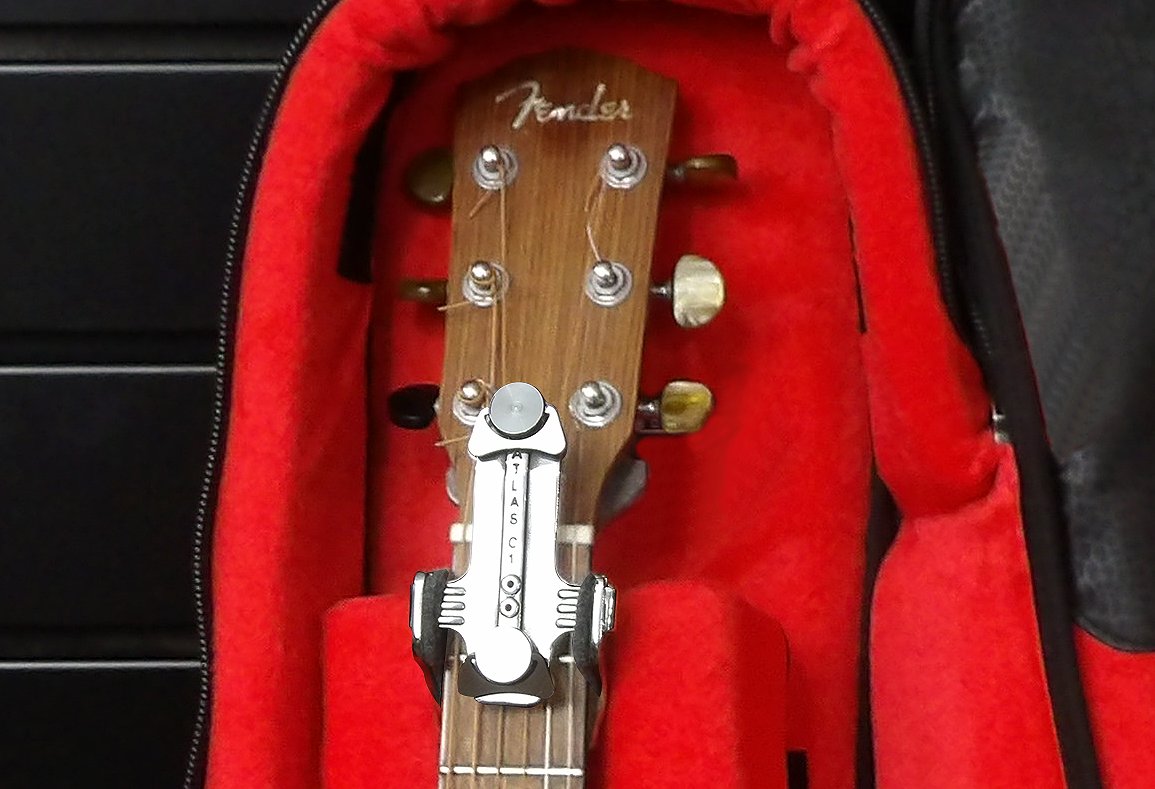
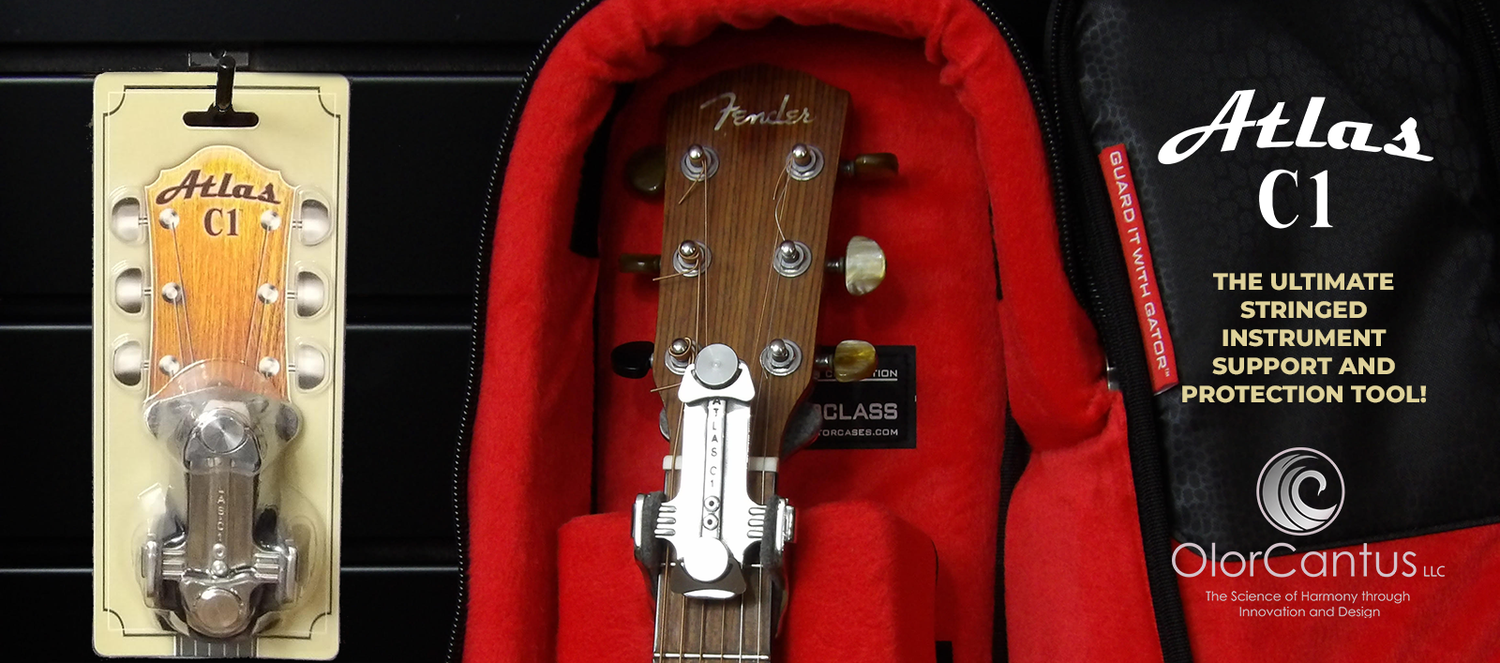
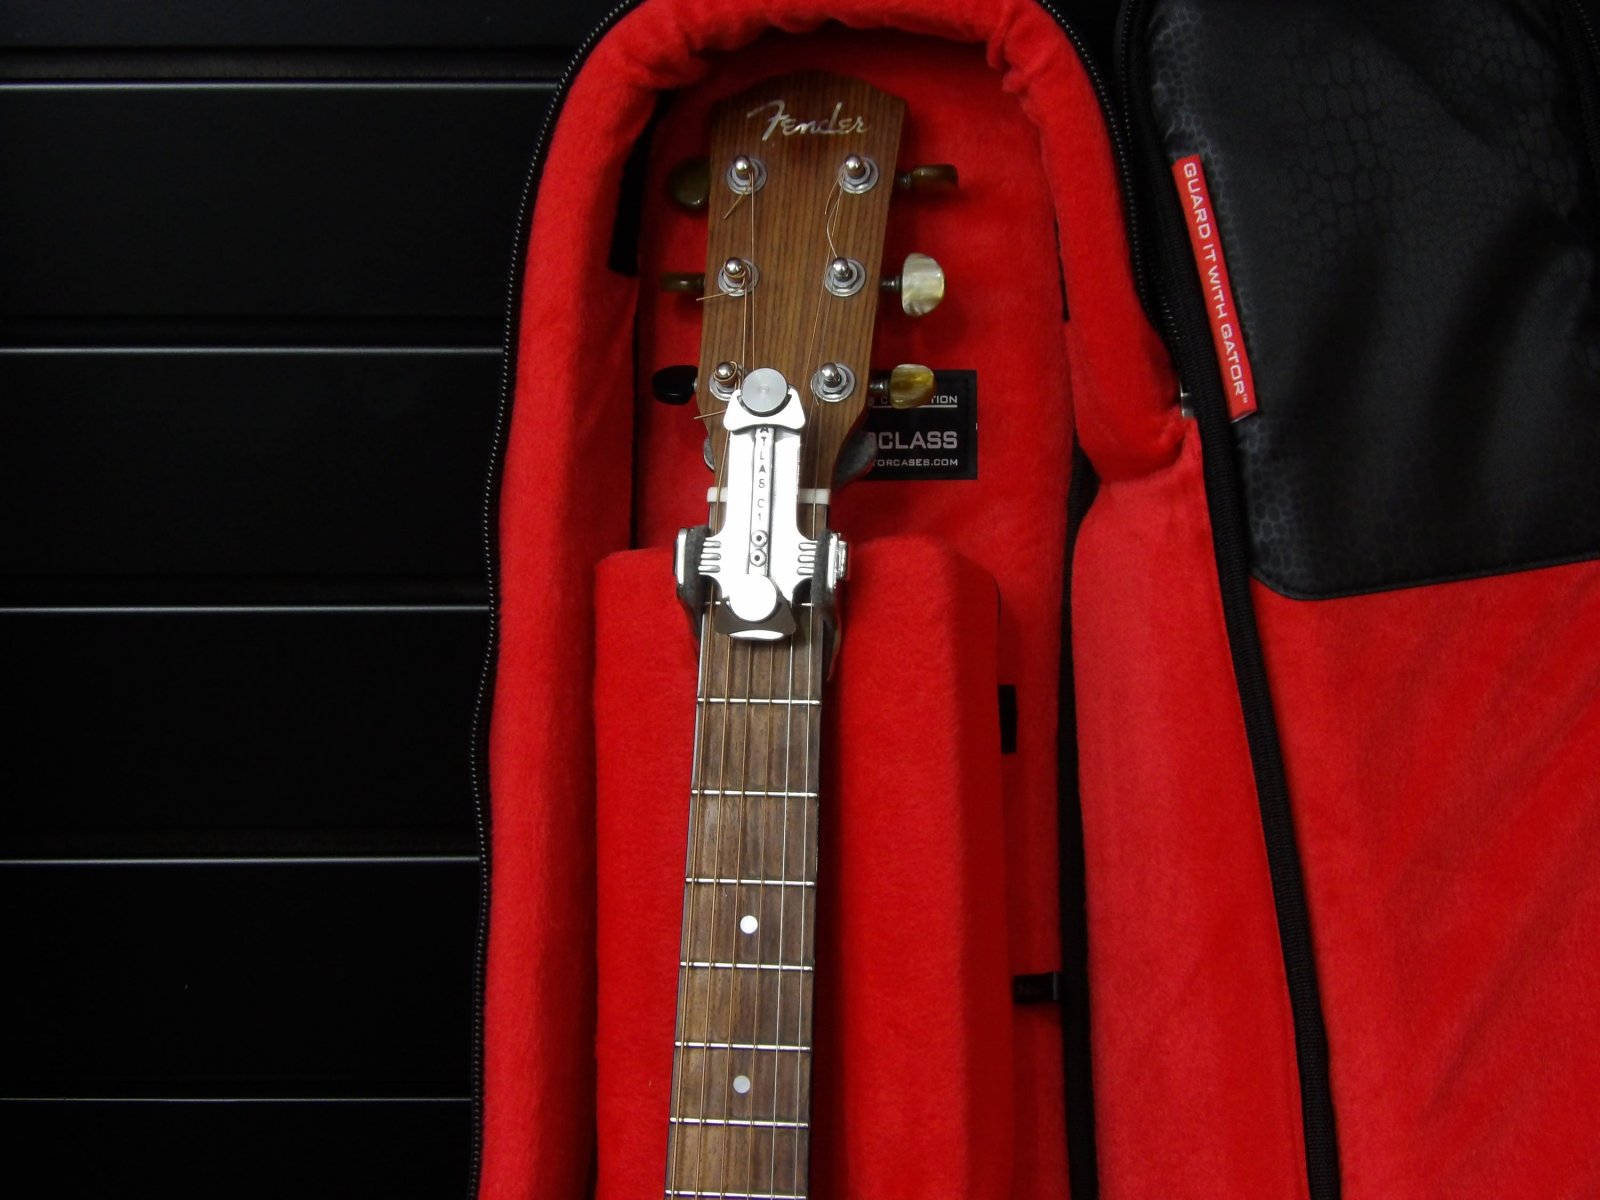
For repair work that goes beyond routine setup, the Atlas C1 is built for this use. It is a patented headstock support, protection, and repair tool. It targets the vulnerable headstock-to-neck junction and also works as a pre-aligned repair jig for previously broken headstocks. At Olor Cantus LLC, we designed the Atlas-C1 to be affordable for stringed instrument owners.
To see the tool and compare purchase options, visit the Atlas C1 headstock support and protection tool page, or check the second retailer listing for the Atlas C1 to compare availability.
Before buying, check that your guitar has a 3-on-3 tuning machine headstock design.
How to Prevent Headstock Damage During Guitar Repair
Headstock damage usually happens in two places: during transport, and during repair when the neck is under stress. Both risks are preventable with the right support.
Support the headstock and neck junction whenever the guitar is off the stand. Do not lean the guitar on its headstock, and never hang the instrument by the neck. During repair, keep the headstock supported so that no load falls on the break line.
A repair jig such as the Atlas C1 holds the headstock in alignment while glue sets. Without that alignment, a repaired headstock can settle at a slight angle, which affects string tension and tuning stability.
Touring musicians face a higher risk because guitars move through cases, vehicles, and cargo holds. A dedicated headstock protector reduces the chance of damage in transit. The Atlas-C1 is designed to counteract 130-plus pounds of string pressure tension.
Check the tool and your instrument before each use. Look for cracks in padding, loose fasteners, and any sign of movement at the joint.
Budget and Value Comparison
Cost is where most comparisons stop at "it depends." A more useful approach is to compare the three realistic options, a protected household table, a padded mat on a bench, and a dedicated neck cradle, on what each costs to set up and what each protects against.
| Option | Typical setup cost | What it protects | What it does not do | Durability notes |
|---|---|---|---|---|
| Towel or cloth on a household table | A few dollars | Finish from scuffs | Does not stop sliding or tipping | Wears thin, traps grit |
| Padded workbench mat | Roughly the price of a mid-range guitar accessory | Body and finish from scratches | Does not control neck position | Foam flattens over time; replace when compressed |
| Dedicated neck cradle | More than a mat, varies by model and dealer | Neck position, headstock drop, sliding | Does not restrain the body for fretwork | Padding and grip are the wear points; check before each session |
| Headstock support and repair jig | Higher than a cradle, varies by configuration | Headstock alignment during repair and transit | Not a substitute for a full repair bench | Check fasteners and padding for movement |
Pricing depends on quantity, dates, and delivery, so check the current price on the Atlas C1 website or request a quote before you decide. What matters more than the sticker is the cost of the damage each option prevents. A broken headstock typically requires professional repair.
Value also depends on use. For occasional players who keep guitars at home, a padded mat plus a basic cradle covers most setup work at modest cost. For touring musicians and collectors with high-value instruments, a dedicated headstock support and repair jig is the better investment because the risk it addresses, headstock breakage in transit or during repair, is the most expensive failure in the chain.
Atlas C1 offers a 10 percent product discount and free shipping. Confirm current offers on the Atlas C1 site before you order.
The practical rule: buy the mat first, add a cradle when you start doing truss rod and fret work, and add a headstock support when you travel with the instrument or own one whose repair bill would exceed the cost of the tool.
Building a DIY Guitar Setup Workstation You Can Trust
A reliable DIY workstation combines a padded surface with a dedicated neck support. You do not need a full luthier bench to do good setup work at home.
Start with a flat, stable table or workbench. Add a padded mat, then install or place a neck cradle at a height that suits your work. Keep the tools you use most, such as a truss rod wrench, feeler gauges, and a fret file, within reach.
Test your setup before you trust it. Place a guitar, apply light pressure to the neck, and check for any slide or rock. Adjust the cradle position until the instrument stays steady.
Keep the workstation clean and dry. Wipe down contact surfaces after each session, and store the tools away from moisture. A tidy workspace prevents scratches and keeps your setup repeatable.
Our pick for most home setups: a dedicated neck cradle on a padded bench, with a headstock repair jig added if you travel or own high-value instruments. The Atlas C1 is built for players who need that second layer of protection.
The Science of Harmony through innovation and design
Long Live the Six String™
Frequently Asked Questions
Do I really need a dedicated guitar neck cradle for basic setups?
Not always. For basic tasks such as string changes and light adjustments, a padded workbench can hold most guitars adequately. A neck cradle becomes more useful when you need the neck held at a fixed angle, when the body needs to stay clear of the bench, or when you plan to work on the frets or headstock. The main advantage is that the neck is supported at a specific point, which reduces the risk of the instrument shifting or pressing against the bench surface during the job.
What are the risks of using only a padded workbench for guitar maintenance?
A padded workbench can let the guitar slide, rock, or settle unevenly, especially on a flat surface with a heavy headstock or a long neck. Pressure can concentrate where the neck meets the body or the headstock, and a small slip during fretwork or a string change can scratch the finish or stress the neck joint. Using a cradle or rest at the neck, along with a mat that grips the bench, lowers these risks for most setup tasks.
Can a DIY padded workbench provide enough stability for fretwork?
It can for light fretwork if the bench is solid, the guitar is secured, and the neck is supported at a stable point. Heavier fret leveling and crowning benefit from a dedicated neck support that holds the neck steady under pressure from tools. If the bench moves or the guitar can shift, the work becomes less precise and more likely to cause damage, so stability should be checked before starting any fret task.
What features should I look for in a professional-grade guitar neck support?
Look for a padded contact surface that protects the finish, a stable base or mounting method, and adjustability in height or orientation so the neck can be held at the angle the work requires. Non-slip contact with the bench and secure fastening help keep the guitar in place. Choose a support that fits your instrument types, since electric, acoustic, and bass necks differ in width, weight, and body balance.