
Table of Contents
- Why Vintage Guitar Necks Fail: Neck Block Shift and Soundboard Shear
- Signs of Guitar Neck Warping and Early Joint Failure
- Proper Humidity for Vintage Guitars: Climate Control That Works
- How to Protect Angled Guitar Headstocks During Travel and Storage
- Truss Rod, Fret Leveling, and Radius Maintenance for Long-Term Neck Health
- When a Neck Reset Becomes Necessary on a Vintage Guitar
- Preventative Maintenance Schedule and Case Protection
- Conclusion
- Frequently Asked Questions
Last Updated: September 16, 2026
Why Vintage Guitar Necks Fail: Neck Block Shift and Soundboard Shear
Preventing vintage guitar neck structural failure starts with understanding where the stress goes. The neck block anchors the neck to the body; when the glue joint between block and soundboard weakens, the block shifts under string tension, transferring load into the soundboard as shear, and the top distorts around the block.
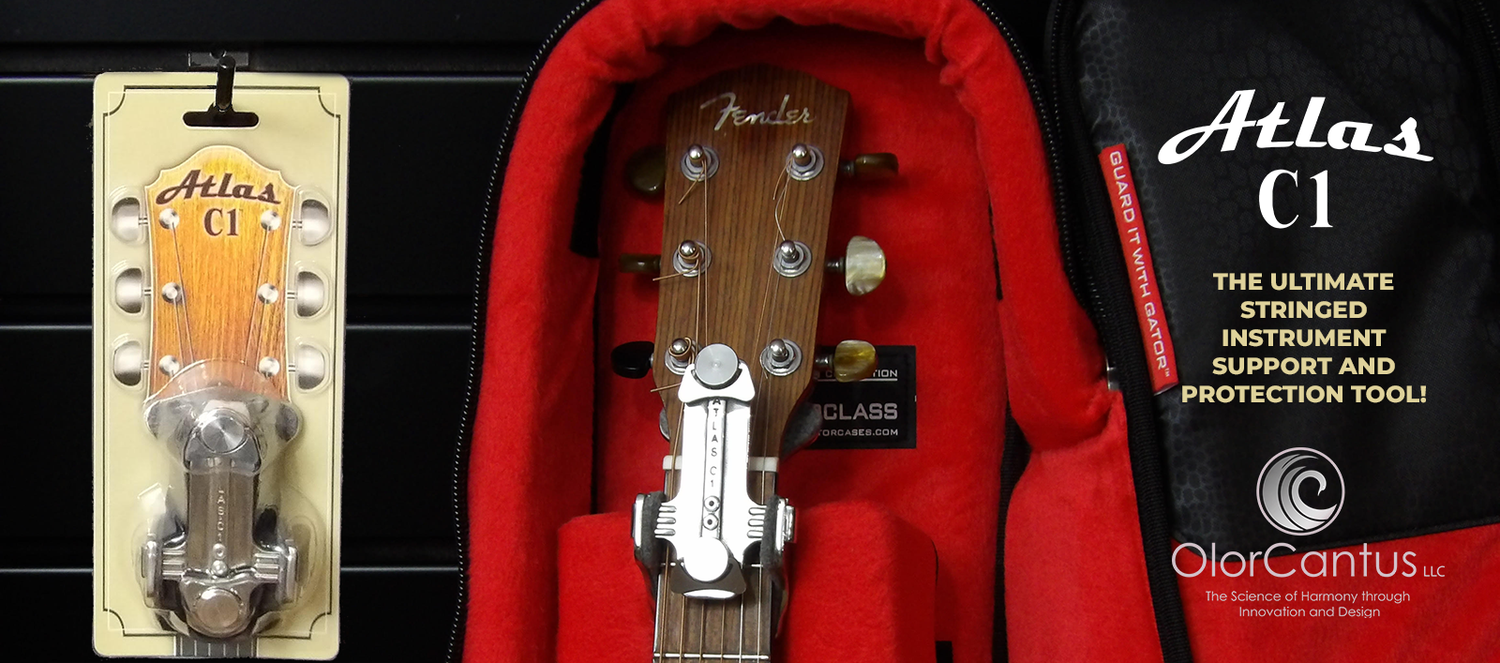
Atlas-C1 Flash sale on now!
acoustic guitar setup and maintenance guidance
Three forces drive this failure:
- Constant string tension pulling the neck forward
- Humidity swings that shrink and swell the wood around the joint
- Age-related glue fatigue in the neck block and tailblock
Signs of Guitar Neck Warping and Early Joint Failure
Early detection is the difference between a setup adjustment and a full neck reset. Watch for these signs of guitar neck warping and joint failure:
- Action height creeping up over weeks, not days
- A visible gap or finish checking where the neck heel meets the body
- Relief that changes when you capo and re-check, suggesting movement rather than a stable curve
- A neck that feels loose or shifts when you apply light pressure at the heel
- Buzz that appears and disappears depending on humidity
Proper Humidity for Vintage Guitars: Climate Control That Works
Most guides say keep a guitar between 45% and 55% relative humidity and stop there. That number was developed for modern instruments with climate-stable adhesives and kiln-dried wood. A vintage instrument is a different material system, and treating it like a new guitar accelerates the failure you are trying to prevent.
Why a Single Number Is Not Enough
The rate of change matters more than the absolute humidity. A guitar that lives at 38% year-round is often more stable than one swinging between 30% in January and 65% in July. Aged wood has already reached its equilibrium moisture content; forcing it to re-equilibrate repeatedly stresses the neck block, heel joint, and soundboard seam.
A practical target range for most vintage instruments:
- 45% to 55% relative humidity as the steady-state goal
- No more than a 10% swing over any 24-hour period
- No more than a 5% swing over any 4-hour period
- Temperature held between 65°F and 75°F, with the same stability logic
Measuring What Actually Matters
A wall thermostat or phone weather app tells you nothing about the microclimate inside a case. Use a calibrated digital hygrometer at the headstock end, not near the body, because the neck and headstock are the thinnest wood and respond first.
Case vs. Room: Where the Real Control Happens
A room humidifier is slow: it takes hours to move a room's moisture content and cannot respond to a cold front that drops indoor humidity 20 points overnight. A case is a small, sealed volume that responds in minutes.
- Keep the guitar in its hard case whenever it is not being played
- Use a case humidifier in dry months and a desiccant pack in humid ones
- Check the case hygrometer weekly, not monthly
- Never store near heating vents, exterior doors, fireplaces, or direct sun
- Avoid storing in basements or attics where swings are largest
What Most Guides Miss
The failure mode is not dryness alone but the transition. A guitar that goes from a 50% case to a 25% hotel room and back in 48 hours has put its heel joint through a full expansion-contraction cycle. Do that ten times a year for a decade and the glue line at the neck block starts to fail even without an extreme reading.
instrument care and humidity guidance
How to Protect Angled Guitar Headstocks During Travel and Storage
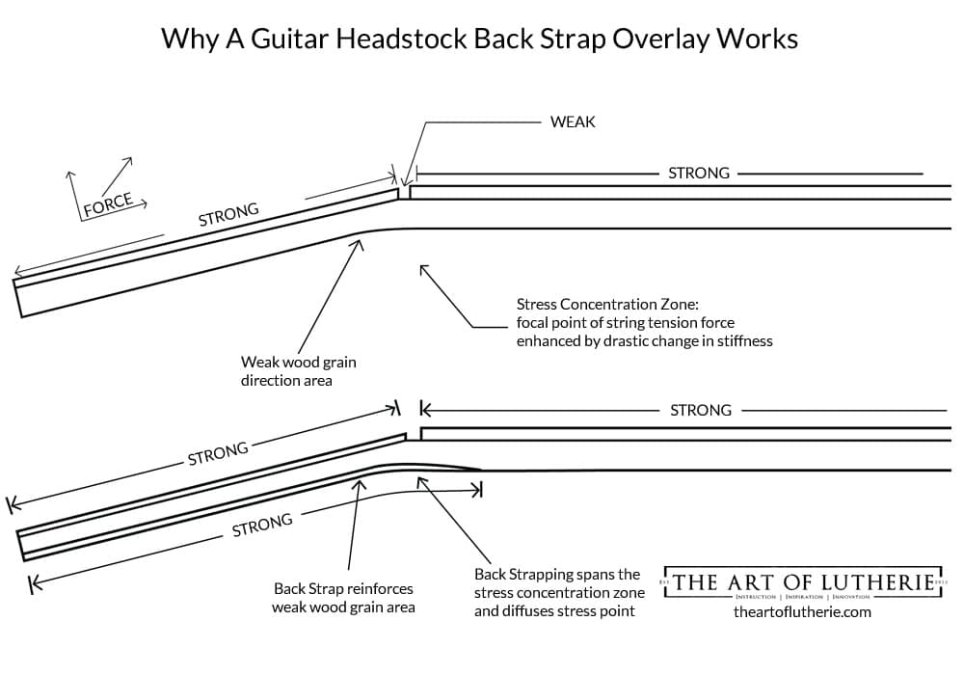
Angled headstocks concentrate string tension at the weakest point of the instrument: the headstock-neck junction. A hard case alone does not protect that junction from impact, because the neck can still flex inside the case.
Truss Rod, Fret Leveling, and Radius Maintenance for Long-Term Neck Health
On a modern guitar, truss rod adjustment is routine maintenance. On a vintage instrument it is a diagnostic procedure with real downside risk: the rod may be a single-action compression rod, a non-adjustable steel reinforcement, or a dual-action rod with decades of corrosion on the threads.
Know What Kind of Rod You Have Before You Touch It
Vintage instruments fall into three broad categories:
- Non-adjustable reinforcement (common in many pre-war and some 1950s instruments): there is no nut to turn. Relief is set by fret work, compression refretting, or neck reset geometry. If relief is wrong, the fix is structural, not a truss rod tweak.
- Single-action compression rod: adjusts relief in one direction only. Over-tightening can back-bow the neck and, in severe cases, pop the fretboard or crack the neck heel.
- Dual-action rod: adjusts both directions, but the threads and anchor can seize after decades of non-use.
If you do not know which you have, stop. A luthier can identify the rod type by inspection and, if needed, by looking at the adjustment nut under the truss rod cover.
The Seized Rod Problem
A rod not turned in 20 years may not turn now, and forcing it can strip the nut, snap the rod, or crack the neck. Apply penetrating lubricant at the nut, let it sit, and try again with a properly fitting tool. If it does not move with light pressure, it does not move. A snapped truss rod often requires removing the fretboard.
Relief: What to Measure and What It Tells You
Relief is the small forward curve that lets strings vibrate without buzzing. Measure it with a capo at the first fret, a feeler gauge at the 7th or 8th fret, and the string pressed where the neck meets the body.
Typical relief targets for a vintage acoustic:
- 0.006" to 0.010" at the 7th fret for most playing styles
- 0.004" to 0.006" for a light-touch fingerstyle player
- 0.010" to 0.012" for a heavy strummer or a guitar with worn frets
Fret Leveling on a Vintage Instrument
Fret leveling removes metal. On a modern guitar with tall frets that is routine; on a vintage instrument with low, wide frets already leveled once or twice, every pass shortens the fret job's life and moves you closer to a refret.
A luthier working on a vintage instrument will typically:
- Measure fret height across the board before deciding to level
- Level only the high spots rather than the entire board when possible
- Preserve the original board radius rather than reshaping it to a modern spec
- Re-crown and polish rather than replace frets unless replacement is unavoidable
Board Radius and Neck Twist
Board radius is the curvature across the fretboard. Vintage instruments often have a tighter radius than modern guitars, and flattening it changes the feel and originality. During any leveling job, maintain the radius with a block matched to the original spec.
Connecting Fret Work to Structural Prevention
Fret and rod maintenance is not just about playability. A neck stable in relief and radius puts less variable load on the heel joint and neck block, while one constantly adjusted to compensate for moving action is masking a structural problem. Keep the neck predictable so any change in action height points to the joint, not the rod.
acoustic guitar setup and maintenance guidance
When a Neck Reset Becomes Necessary on a Vintage Guitar
A neck reset becomes necessary when the heel angle can no longer support playable action height without shaving the bridge saddle below a safe minimum. At that point, the joint has failed structurally, not just drifted.
Preventative Maintenance Schedule and Case Protection
A written schedule beats reacting to problems. Here is a practical cadence for a vintage instrument:
Task |
Frequency |
What to Check |
|---|---|---|
Humidity reading |
Weekly |
45-55% range, no rapid swings |
Relief and action check |
Every 3 months |
Consistent relief, stable action height |
Heel joint inspection |
Every 3 months |
Finish checking, gaps, glue failure signs |
Fret and radius inspection |
Annually |
High spots, wear, neck twist |
Full structural review |
Annually |
Neck block, tailblock, soundboard shear |
Conclusion
Vintage guitar necks fail slowly, then all at once. The neck block shift, the soundboard shear, the glue quietly giving way: none of it happens overnight, but across seasons of humidity swings and miles of travel, until the joint finally moves. The owners who avoid the expensive reset watched for early signs and supported the instrument before it needed repair.
Frequently Asked Questions
What are the early warning signs of a vintage guitar neck failing?
Watch for rising action height, a lifting fretboard extension, finish checking along the heel, and a neck that moves when you gently flex it. Tuning instability and a truss rod that feels loose or bottoms out are also red flags. Catching these signs early lets you address humidity or support issues before they become a full neck reset.
How does humidity affect vintage guitar neck stability?
Wood expands and contracts with moisture. For vintage guitars, keep relative humidity between 45 and 55 percent. Below 40 percent, the fretboard shrinks, frets sprout, and glue joints can fail. Above 60 percent, the neck can swell and twist. Use a calibrated hygrometer and a room humidifier or dehumidifier, and never store a vintage guitar near a heating vent or in a damp basement.
Is a neck reset inevitable for vintage acoustic guitars?
Not always. A neck reset becomes necessary when the heel angle has shifted enough that action height cannot be corrected with bridge saddle or truss rod adjustments. Proper humidity control, correct string tension, and regular inspections can delay or prevent the need for a reset. If you notice the fretboard extension rising or a gap at the heel, have a luthier assess it before the damage worsens.
Should a guitar neck be dead straight?
No. A neck should have a slight forward bow, called relief, typically 0.005 to 0.012 inches at the 7th to 9th fret. This relief allows strings to vibrate without buzzing. A dead straight neck often causes fret buzz in the lower positions. Adjust the truss rod in quarter-turn increments, and let the neck settle for a day before checking again.