
Table of Contents
- Assessing Your Broken Headstock: Determining Repair Viability
- Tools and Materials You'll Need for Headstock Repair
- Preparing Your Guitar: Loosening Strings and Reducing Tension
- Best Wood Glue for Guitar Repair and Application
- Aligning and Assembling the Broken Headstock Surfaces
- How to Clamp a Guitar Headstock for Secure Repair
- Guitar Headstock Repair Cost and Timeline Expectations
- Post-Repair Inspection and Reinforcement Options
- Preventing Future Headstock Damage During Transport and Storage
- Frequently Asked Questions
Last Updated: October 8, 2026
Assessing Your Broken Headstock: Determining Repair Viability
Learning how to fix broken guitar headstock damage is possible for many breaks. The question is whether you should fix it yourself or call a professional. Understanding the break type and severity determines your next step.
Identifying Break Type and Severity
Guitar headstocks break in predictable ways. Clean breaks are straight cracks through the wood. Splintered breaks have jagged, shattered edges. Angled breaks occur at the neck junction where the headstock meets the neck.
Clean breaks are easiest to repair. The wood surfaces align naturally, and glue bonds well. Splintered breaks require more work because you need to align irregular edges and may lose small wood pieces. Angled breaks at the neck junction are the most dangerous because string tension pulls the break apart constantly.
Severity matters too. A hairline crack that doesn't move is minor. A break with visible separation needs immediate attention. A break where the headstock hangs loose or moves is severe.
When to DIY vs. When to Call a Professional
DIY repair works when the break is clean, recent, and the headstock hasn't moved much. You'll need patience, the right materials, and a clamping system that holds everything tight while glue cures.
Stop and call a professional if:
- The headstock is hanging by strings alone
- The break is old and the wood is dried out
- Multiple cracks exist in the headstock
- The break is near the tuning post holes
- You've already tried gluing and it failed
Professional luthiers have specialized jigs and experience with complex breaks. They can reinforce weak repairs and restore finish work. The investment protects valuable instruments.
Tools and Materials You'll Need for Headstock Repair
Successful headstock repair requires specific tools and materials. Improvising with wrong supplies leads to weak repairs that fail again.
Essential tools:
- Clamps (at least two, preferably four)
- Screwdrivers to loosen tuning posts
- Masking tape and painter's tape
- Sandpaper (120-grit and 220-grit)
- Measuring tape
- Small brush or applicator for glue
- Rags for cleanup
Materials you'll need:
- Wood glue rated for guitar repair
- Scrap wood blocks (to protect finish under clamps)
- Wax paper (prevents glue from sticking to work surface)
- Newspaper or drop cloth
- Fine-grit sandpaper for final smoothing
Having everything ready before you start prevents frustration and mistakes. Lay out your workspace with good lighting and enough room to work around the guitar without rushing.
Preparing Your Guitar: Loosening Strings and Reducing Tension
String tension holds a broken headstock together artificially. Loosening strings reduces this pressure and lets you work safely.
Remove all strings completely. Loosen each tuning peg slowly and evenly. Don't rush this step. Fast loosening can snap remaining strings or damage tuning posts.
After strings are off, loosen the truss rod by about one-quarter turn. The truss rod runs inside the neck and creates tension. Reducing this tension lets the neck relax and makes alignment easier.
Leave the truss rod loose until after glue cures. Tighten it again only when the repair is complete and strings are back on.
Best Wood Glue for Guitar Repair and Application
Not all wood glues work for guitar headstock repair. The best choice depends on the break type, your skill level, and whether you want a reversible repair. The three main options are hide glue, aliphatic resin glue (like Titebond), and polyurethane glue (like Gorilla Glue). Each has trade-offs.
Hide glue is traditional and reversible. It comes as granules you mix with water and heat, or as a liquid bottled version. Hide glue creates a strong bond that a professional can undo with heat and moisture if the repair needs redoing. Working time is short, about 5-10 minutes, so you must clamp quickly. It dries hard and brittle, which can be good for tone but less forgiving on imperfect joints.
Aliphatic resin glue (Titebond Original, Titebond II, Titebond III) is the most common choice for DIY guitar repair. It is strong, easy to use, and has a working time of about 10-15 minutes. Titebond Original dries hard and is sandable. Titebond II and III are more water-resistant but can creep under sustained load, which is a concern for headstocks under constant string tension. For headstock repair, Titebond Original is often preferred because it dries hard and does not creep.
Polyurethane glue (Gorilla Glue) expands as it cures, filling small gaps and creating a very strong joint. It is waterproof and bonds to slightly damp surfaces. However, the expansion can push pieces out of alignment if clamping pressure is uneven, and cleanup is messy. It also requires moisture to cure, so you must lightly dampen one surface before applying. Cure time is longer, often 24 hours before full strength.
Avoid regular furniture glue, super glue, and epoxy for the initial join. Super glue and epoxy are brittle and can snap under string tension. Furniture glue dries too fast and does not bond well to old, dried wood.
Apply glue to both surfaces of the break. Use a small brush or applicator to spread a thin, even coat. Too much glue creates squeeze-out and mess. Too little leaves dry spots that won't bond. For hide glue, work quickly and clamp immediately. For aliphatic resin, you have a few minutes to align and clamp. For polyurethane, dampen one surface, apply glue, and clamp firmly.
Clamp immediately after applying glue. Most instrument-grade glues set within 30-60 minutes, but full cure takes 24 hours or more. Do not test the joint before full cure.
Aligning and Assembling the Broken Headstock Surfaces
Alignment is critical when you fix broken guitar headstock surfaces. Misaligned breaks create visible steps in the headstock and weak joints that fail under string tension.
Clean both break surfaces first. Use 120-grit sandpaper to remove old glue, dirt, and loose wood fibers. Sand gently to avoid enlarging the break. Wipe away dust with a damp rag and let dry completely.
Hold the two pieces together and check alignment. The surfaces should meet flush with no gaps or steps. Adjust carefully until they align perfectly.
Use masking tape to temporarily hold alignment while you position clamps. The tape acts as a hinge, keeping pieces in the correct position as you move to the clamping station.
Apply glue to both surfaces, then bring the pieces together. Align them one final time before clamping. Speed matters here because glue begins setting quickly.
How to Clamp a Guitar Headstock for Secure Repair
Proper clamping holds the break tight while glue cures. Weak clamping pressure creates weak joints that fail.

Setting Up Your Clamping System
Use at least two clamps, positioned opposite each other across the break line. Four clamps are better because they distribute pressure evenly and prevent the headstock from twisting.
Position clamp pads on scrap wood blocks to protect the guitar's finish. Never clamp directly on the headstock wood. Clamp pads distribute pressure and prevent denting.
Apply pressure gradually. Tighten each clamp a little at a time, alternating between clamps to keep pressure balanced. You want firm pressure, not crushing force. If you see glue squeeze out evenly along the entire break, pressure is right.
Check alignment one final time after clamping. Look at the headstock from above and from the side. The break line should be invisible or nearly so.
Monitoring Glue Cure Time
Leave clamps tight for the full cure time specified by your glue manufacturer. Most instrument-grade glues need 24 hours minimum. Some polyurethane glues require 48 hours for full strength.
Don't disturb the guitar during cure time. Keep it in a stable position where clamps won't slip or loosen. Avoid temperature swings, which can cause wood movement and weak bonds.
After cure time, loosen clamps slowly. Remove them one at a time, checking that the break holds. If the break separates, re-clamp immediately and extend cure time.
Guitar Headstock Repair Cost and Timeline Expectations
Most guides skip realistic cost and time expectations. Here is a concrete breakdown so you can decide whether to DIY or pay a professional.
DIY repair cost: If you already own clamps and basic tools, you will spend $10-$25 on glue, sandpaper, and masking tape. If you need to buy clamps, expect $15-$40 for a pair of quality bar clamps or spring clamps. A small bottle of Titebond Original costs about $5-$8. Hide glue granules cost $10-$15 and require a glue pot or double boiler, which adds $20-$40 if you do not have one. Polyurethane glue costs $6-$10. Total DIY cost for a first-time repair with no tools: $50-$100.
Professional repair cost: A luthier typically charges $150-$400 for a headstock repair, depending on the break severity and whether reinforcement splines are needed. A clean break with simple gluing may be $150-$250. A splintered break with missing wood, splines, and finish touch-up can run $300-$500 or more. Some shops charge a bench fee of $50-$75 just to assess the damage. If the repair requires a new headstock veneer or refinishing, costs can exceed $600.
DIY timeline:
- Preparation and dry-fit: 30-60 minutes
- Gluing and clamping: 15-30 minutes
- Cure time: 24-48 hours (depending on glue)
- Cleanup, sanding, and inspection: 1-2 hours
- Stringing and tension test: 1-2 hours (gradual)
- Total: 3-5 days, with most of that being cure time.
Professional timeline:
- Assessment and scheduling: 1-3 days
- Repair and cure: 2-5 days
- Finish touch-up (if needed): 3-7 days
- Setup and stringing: 1 day
- Total: 1-2 weeks typical, longer if the shop is busy or if finish work is extensive.
Trade-offs: DIY saves money but risks a weak repair if you rush or use the wrong glue. A failed DIY repair can make professional repair harder and more expensive because the luthier must remove old glue and clean the joint. Professional repair costs more but includes proper alignment, reinforcement, and finish work that protects the instrument's value.
Always get a written estimate before authorizing professional work. Ask whether the price includes setup and whether the repair is guaranteed.
Post-Repair Inspection and Reinforcement Options
After glue cures and clamps come off, inspect the repair carefully. The break line should be tight with no gaps. The headstock should feel solid when you flex it gently.
Sand the repair area smooth with 220-grit sandpaper. Remove any dried glue squeeze-out. Blend the sanded area with the surrounding finish.
For extra strength, consider reinforcement. Spline reinforcement involves routing a groove across the break and gluing in a wood spline. This adds mechanical strength beyond glue alone. Professionals use this technique on valuable instruments.
Test the repair by applying string tension gradually. Add strings one at a time and bring tension up slowly over a few hours. Watch the repair for any movement or separation. If it holds solid, the repair is successful.
Preventing Future Headstock Damage During Transport and Storage
Headstock breaks happen during transport. String tension combined with impact creates dangerous stress at the neck junction. Prevention is far easier than repair.
Support the headstock during transport. Use a padded headstock guard or travel case designed for your guitar type. Never lay a guitar flat in a case where the headstock hangs unsupported.
Store guitars upright or in a wall hanger. Never store horizontally without proper support. Never lean guitars against walls where they might fall.
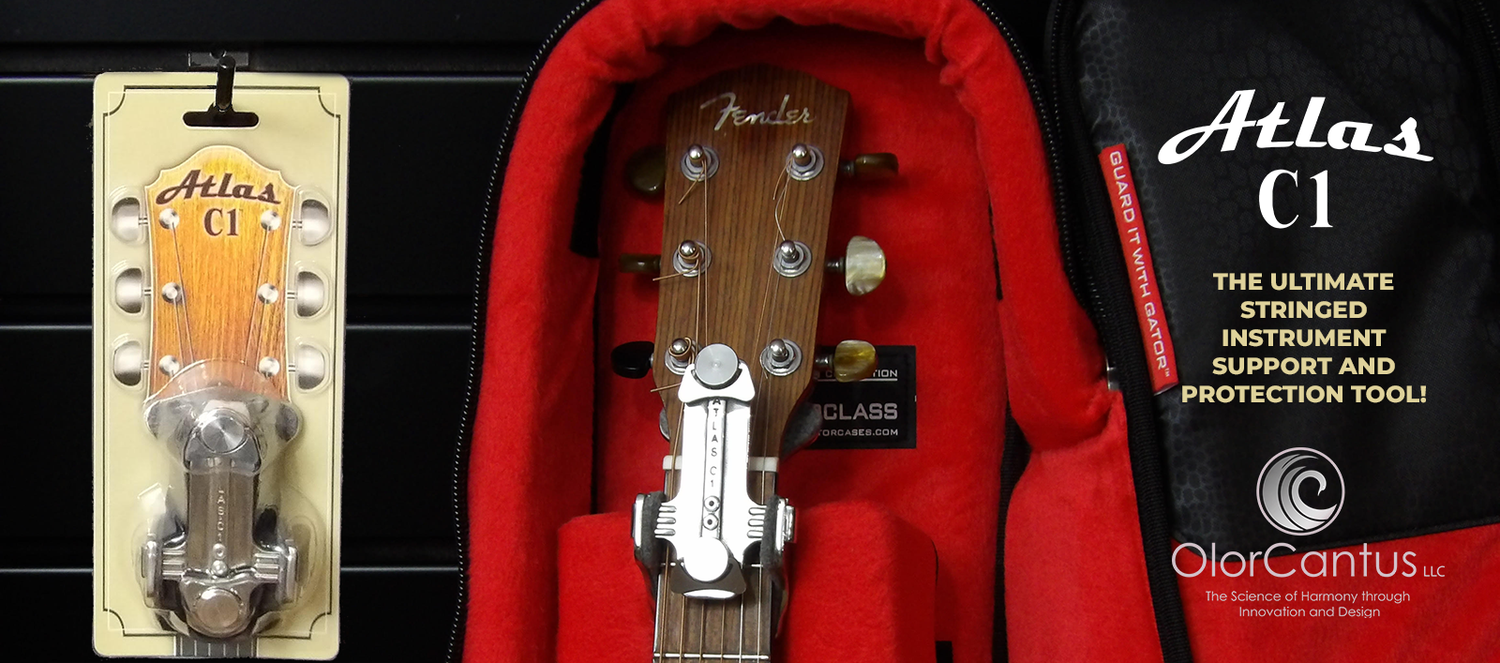
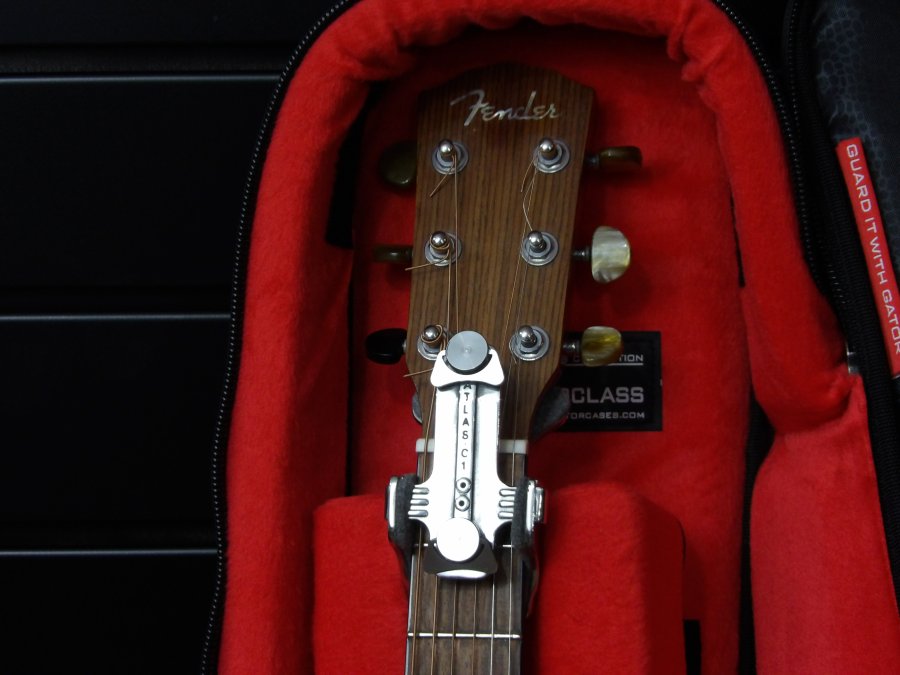
For touring musicians and frequent travelers, a specialized headstock protection tool like the Atlas C1 prevents breaks before they happen. The Atlas C1 is designed to support the vulnerable headstock-neck junction during travel and shipping. It doubles as a pre-aligned repair jig if a break does occur, which simplifies the entire repair process.
The Atlas C1 counteracts the 130+ pounds of string pressure tension that creates stress at the neck junction. This support prevents the micro-fractures that eventually become visible breaks.
Broken guitar headstocks are repairable, but prevention is smarter than repair. If you do face a break, assess the severity honestly. Clean breaks with proper alignment are good DIY candidates. Severe breaks or breaks near the tuning posts need professional attention.
The repair process requires patience and proper materials. Clean surfaces, quality glue, and firm clamping create bonds that last. After repair, protect your guitar during transport and storage.
For musicians who travel frequently or own valuable instruments, the Atlas C1 offers peace of mind. It prevents headstock damage before it happens and simplifies repairs if breaks do occur. When you order the Atlas C1, you'll also receive a 10% product discount and free shipping, making protection affordable and accessible. Get started with the Atlas C1 and keep your guitars safe for a lifetime of playing.
Frequently Asked Questions
Can a broken guitar headstock be fixed?
Yes, most headstock breaks can be repaired successfully using wood glue, proper alignment, and clamping. Clean breaks perpendicular to the grain respond well to DIY repair. Breaks involving the tuner post or severe splintering may require professional attention. The key is assessing the break type and ensuring the wood surfaces fit together tightly before gluing.
What is the best wood glue for guitar repair?
The best wood glue for guitar repair depends on the break type and your skill level. Choose a glue that won't compromise the wood's structural integrity or finish appearance after cure.
How much does professional guitar headstock repair cost?
Professional luthier repairs vary in cost depending on break complexity, location, and whether reinforcement is needed. Your own DIY repair using basic materials and tools can be a more cost-effective option, though it requires time, care, and proper equipment like clamps. The investment in a repair jig can provide long-term value if you own multiple guitars or travel frequently.
How long does a guitar headstock repair take?
Active repair work takes 1-3 hours depending on break severity and alignment difficulty. However, wood glue curing typically requires 24 hours before you can remove clamps, and full strength develops over several days. Professional repairs may take 1-2 weeks if reinforcement, finishing, or setup work is needed. Plan for patience rather than speed when repairing your own instrument.