
Quick Summary
To finish a guitar neck after repair, first check that the joint has fully cured and the neck is straight, then identify the existing finish with a solvent test. Level the repair, feather the old finish edge, and clean the surface. Apply thin coats of a matched finish, such as Tru-Oil, wiping off excess and letting each coat dry.
- Confirm the glue has fully cured and the neck sits straight before finishing.
- Identify the existing finish with a solvent test in a hidden spot, such as under the heel.
- Feather the old finish edge with 400 grit on a block to avoid a visible ridge.
- Apply thin Tru-Oil coats, wipe off excess after 10 to 15 minutes, and build three to five coats.
- Allow the finish to cure fully before setup, since adjusting the truss rod on uncured finish can cause problems.
Table of Contents
- Assessing the Repair Before You Pick a Finish
- Guitar Neck Finish Types and How They Compare
- Tools and Materials You Will Need
- How to Finish a Guitar Neck After Repair Without Sanding Through the Old Finish
- Applying a Tru-Oil Guitar Neck Finish
- How to Match Guitar Neck Finish in Color, Sheen and Texture
- Curing, Setup and Playability Checks
- Common Mistakes That Cause Finish Failure
- Finishing Your Repaired Neck Next: Protecting It for the Road
- Frequently Asked Questions
How to Finish a Guitar Neck After Repair, Step by Step
Last Updated: November 7, 2026
A repaired guitar neck can look fine and still fail if the finish goes on wrong. The wood under a repair is often bare, uneven or slightly out of tune with the rest of the neck, and a poor finish will show that within months. The finishing step is where many good repairs quietly go bad.
This guide walks through the full process, from checking the repair to protecting the finished neck. Along the way you will find a summary table, a checklist and a set of common mistakes to avoid. Finishing a guitar neck is a patient job, and the steps below are written so you can follow them in order.
Assessing the Repair Before You Pick a Finish
Before you touch a finish, look closely at the repair itself. Check the joint for gaps, confirm the neck is straight, and make sure any glue has fully cured. A finish cannot fix a joint that is still moving.
Ask yourself three questions:
- Is the repaired area bare wood, or does it still have old finish around it?
- Is the wood fully dry and free of glue squeeze-out?
- Does the neck sit straight when you sight down it?
If the answer to any of these is no, fix that first. Finish over a flawed repair locks the flaw in place.
Watch out: finishing before the glue has cured can trap moisture and cause the finish to cloud or lift later. Give the joint the full cure time your glue manufacturer lists.
Guitar Neck Finish Types and How They Compare
Most guitar necks use one of four finish families: oil, wiping varnish, lacquer, and polyurethane or polyester. On a repaired neck, the question is not just which finish is best in general, it is which finish will bond to what is already there and blend invisibly.
Start by identifying the existing finish. A few practical tests narrow it down:
- Solvent test. Dab a small amount of denatured alcohol on a hidden spot, such as under the heel or inside a tuner hole. Lacquer softens within a minute or two; polyurethane and polyester usually resist it. Watch out: test in an inconspicuous area only, because even a small dab can dull a gloss finish.
- Visual and feel test. Lacquer often shows fine checking or a slightly amber cast on older instruments. Polyurethane tends to look thicker at edges and can feel more plastic-like under the fingers. Oil finishes look and feel like open wood with a low sheen and no film build.
- Scratch test. In a hidden area, a sharp blade will lift lacquer as a thin film; polyurethane resists and may chip rather than lift.
Once you know the family, match the touch-up material to it:
- Oil finishes soak into bare or repaired wood and blend well, but they offer less protection against sweat and wear. They are the most forgiving choice when the repair exposes raw wood and you want a localized fix.
- Wiping varnish builds a thin film and is easier to apply by hand than spray lacquer. It can bridge small repaired areas but may not adhere well over an unknown oil or silicone-contaminated surface.
- Lacquer dries fast and burns into previous lacquer coats, which makes it the best choice for blending a repair into an existing lacquer finish. It needs spray equipment and good ventilation, and it will not adhere properly over polyurethane.
- Polyurethane and polyester are tough and water resistant, but they are hard to repair locally and generally do not blend with lacquer or oil. A repaired area finished with polyurethane over an unknown base is a common cause of peeling and witness lines.
Finish compatibility is the deciding factor. If you cannot identify the existing finish, test a small patch on the back of the headstock and wait a full cure before committing to the whole repair.
For most localized repairs where the surrounding finish is unknown, a thin oil or wiping finish gives the most forgiving result and the easiest sheen match. Where the neck is confirmed lacquer and the repair is small, a lacquer touch-up will blend better than any hand-applied film finish.
Tools and Materials You Will Need
Gather everything before you start. If you are comparing affordable alternatives to StewMac repair tools, see our alternatives guide before you buy. Stopping mid-coat to hunt for supplies is how drips and fingerprints happen.
- Fine sandpaper, roughly 320 to 400 grit, and a sanding block
- Masking tape for the fretboard, nut and tuner holes
- Clean lint-free cloths and a small brush
- Your chosen finish, such as a tung oil blend or a wiping varnish
- Nitrile gloves
- Denatured alcohol for cleaning
- Foam earplugs if you use a sander
Atlas C1 also offers a 10% product discount and free shipping, so it is worth checking those before you order.
How to Finish a Guitar Neck After Repair Without Sanding Through the Old Finish
Sanding is where most DIY repairs go wrong, and on a repaired neck the prep is different from a general refinish. The goal is to level the repair, remove contaminants, feather the old finish edge, and scuff only enough for the new coat to bond, without cutting through to bare wood you did not mean to expose.
First, decide the scope. A localized spot finish works when the damage is small, the surrounding finish is sound, and you can feather the edge invisibly. A full neck refinish is the better call when the repair is large, the old finish is already lifting or cracked around the repair, or the damage sits in a high-friction area such as the back of the neck where a blend will wear through quickly. Feathering the damaged edge is the middle path: sand the old finish back gradually so the new coat has a tapered surface to bond to, rather than a hard ridge.
Repair-specific preparation steps:
- Remove glue residue. Scrape or sand away squeeze-out and any dried glue film. Glue blocks finish adhesion and shows as a pale halo under a clear coat. A sharp card scraper followed by 320 grit is usually enough.
- Level the filled repair. If the repair was filled, sand the fill flush with the surrounding wood using a block, not fingers. Check with a straightedge and by sighting down the neck. A low or high fill will telegraph through the finish.
- Stabilize exposed wood. Bare wood around the repair absorbs finish differently from the old film. Seal it lightly with a thin coat of your chosen finish or a compatible sealer before building coats, so the repair does not drink up the first coat and leave a dry patch.
- Feather the finish edge. Scuff the old finish around the repair with 400 grit on a block, working in gentle, even strokes. Taper the edge so the transition is gradual, not a hard ridge. Check progress often under raking light.
- Clean and decontaminate. Wipe with denatured alcohol to remove oils, dust, and polish residue. Change cloths often; a contaminated cloth spreads silicone and causes fish-eyes.
- Mask the fretboard, nut, and tuner holes before any sanding or finishing, and re-check the tape after sanding.
Watch out: pressing hard on a curved neck will cut through the old finish along the edges first, creating a visible halo that no amount of blending will hide. Use a light touch and let the abrasive do the work.
If the repair sits near a fret or the nut, protect those areas with tape and work the sandpaper up to the tape line rather than over it. After sanding, wipe away all dust with a dry lint-free cloth and inspect the repair under raking light before the first coat.
Applying a Tru-Oil Guitar Neck Finish
Tru-Oil is a popular wiping finish for necks because it is forgiving and builds a satin sheen. It is applied in thin coats, each wiped off after a few minutes.
Here is the method we recommend:
- Apply a thin coat with a cloth, working along the grain.
- Let it sit for about 10 to 15 minutes, then wipe off any excess.
- Allow the coat to dry fully before adding the next, which usually takes several hours.
- Repeat until the repair blends with the surrounding finish, typically three to five coats.
Keep the coats thin. A heavy coat stays tacky, collects dust and can take days to cure properly.
The steps below summarise the Tru-Oil application method described above.
| Step | What to do | Time or frequency |
|---|---|---|
| Apply coat | Thin coat with a cloth, along the grain | Thin coat |
| Wipe off | Remove excess after sitting | 10 to 15 minutes |
| Dry | Let coat dry fully before next | Several hours |
| Repeat | Build until repair blends | Three to five coats |
How to Match Guitar Neck Finish in Color, Sheen and Texture
A good repair is invisible. Matching color, sheen and texture is what makes that happen, and it is easier than most people expect.
For color, test your finish on a scrap piece of the same wood, or on an inconspicuous spot such as the back of the headstock. Let it dry and compare it under the same light you will use to judge the neck.
For sheen, remember that oil finishes start glossy and dull as they cure. Wait for full cure before deciding whether the sheen matches. A coat that looks too glossy on day one often settles into a satin finish within a week.
For texture, the feel matters as much as the look. Finish the repair with the same grit and the same number of coats as the rest of the neck. Run your fingers across the area, and sand back any ridge you can feel.
Curing, Setup and Playability Checks
Once the finish has cured, check the neck the way a player would. Cure time depends on the product and the room temperature, so follow the label rather than guessing.
Run through this checklist:
- The finish is fully cured and no longer tacky
- No ridges or edges are detectable by touch
- The sheen matches the surrounding neck in normal light
- The neck is still straight after curing
- Strings sit at the correct action and intonation
- The neck feels smooth under the fretting hand
If the neck needs a setup after the repair, do it only after the finish is fully cured. Adjusting the truss rod on uncured finish can cause new problems.
Common Mistakes That Cause Finish Failure
Most finish failures trace back to a few predictable errors. Knowing them saves time.
- Finishing too soon. Uncured glue or wood with moisture in it traps problems under the finish.
- Heavy coats. Thick coats stay soft, attract dust and can wrinkle.
- Skipping the cleaning step. Oils from your hands prevent the new coat from bonding.
- Sanding too aggressively. This exposes bare wood around the repair and creates a visible halo.
- Rushing the cure. Handling or playing the guitar before the finish hardens leaves fingerprints and marks.
A common mistake is to judge the repair the moment the last coat dries. Give it at least a few days before you call it done.
Finishing Your Repaired Neck Next: Protecting It for the Road
Once the finish is cured and checked, protect the neck during transport and storage. A freshly finished neck is still vulnerable to knocks and to pressure from stands and cases.
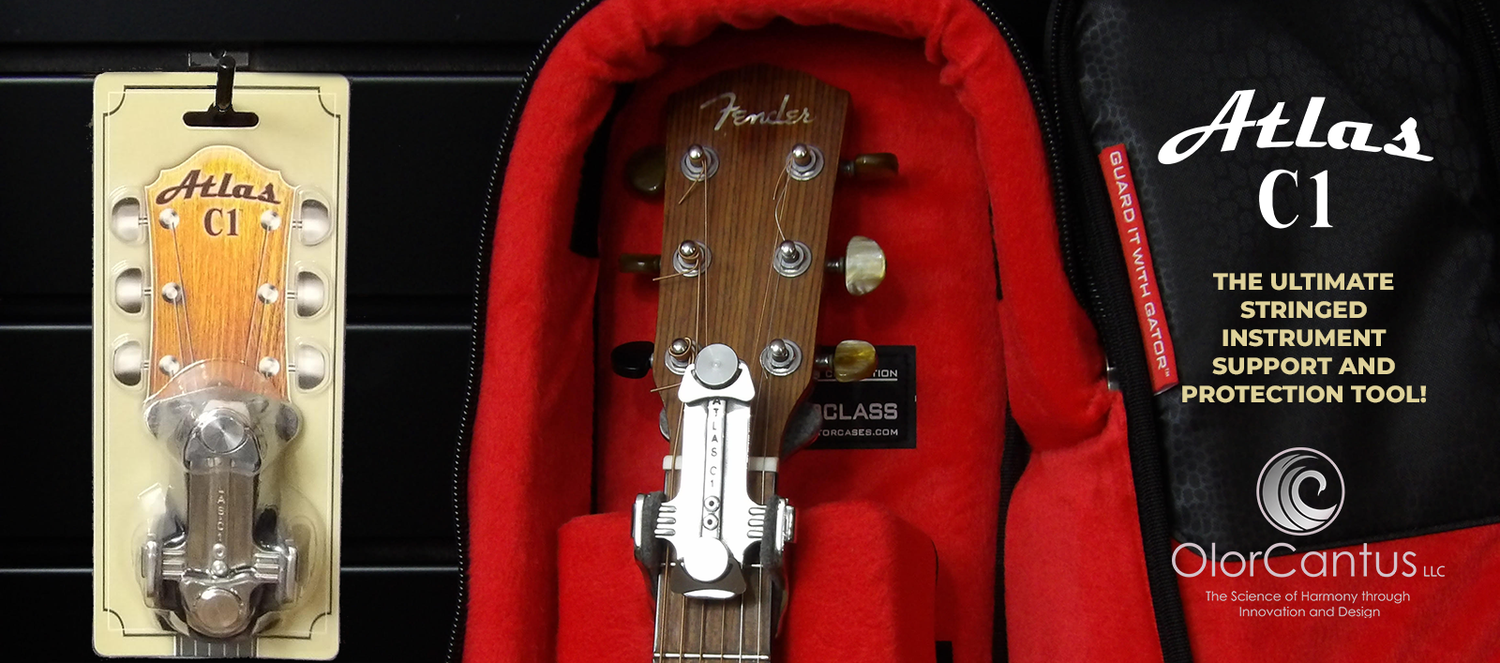
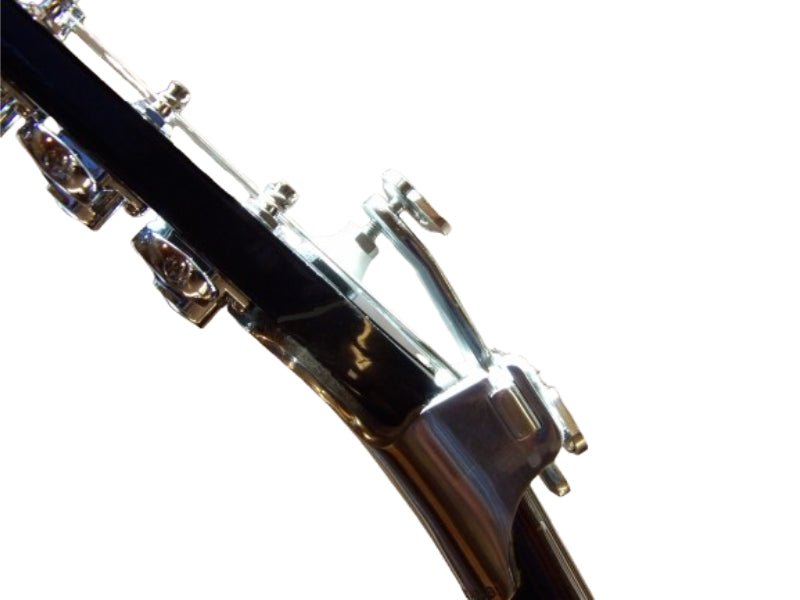
Use a headstock support when you travel, and keep the neck clear of hard contact. The Atlas-C1 is a universal multi-function tool designed to protect stringed instruments from headstock damage during travel, shipping, or storage, and it doubles as a pre-aligned repair jig.
This guide is designed to help you finish repairs that hold up. For a deeper check on alignment before you finish, see our DIY Guitar Headstock Repair: Alignment Guide. Once the finish is cured, use our 7 Checks Guitar Neck Repair Quality 2026 to judge whether the neck is sound and playable. If you are about to pack the guitar, protect guitar finish from stand contact explains how to avoid finish damage in transit, and a headstock support and protection tool can safeguard the neck on the road.
Guitar finishing guidance from the Guitar Player magazine repair section
Manufacturer curing and safety data for common wood finishes
Long Live the Six String™. The Science of Harmony through innovation and design.
Frequently Asked Questions
What should I use to finish a guitar neck?
The right finish depends on the neck wood and the look you want. Oil-based finishes such as Tru-Oil or boiled linseed oil soak into the wood and feel natural in the hand, which many players prefer on a neck. Polyurethane and nitrocellulose lacquer form a harder film that resists wear and sweat better but feels more plasticky. For a repaired area, choose a finish that matches what is already on the neck, and test it on scrap wood of the same species before committing. Always check the manufacturer's directions for compatibility with your product.
Can I finish a guitar neck without sanding?
You can apply a thin oil finish over a clean, dry neck without full sanding, but you should still scuff the surface lightly with fine abrasive or steel wool so the new finish can bond. Skipping this step is a common cause of peeling and uneven sheen. If the old finish is lifted or damaged, feather the edges so the repair blends in. Removing finish completely is only necessary when the existing coat is failing across the whole neck.
How do I match the finish on a repaired guitar neck?
Matching starts with identifying the original finish, then testing your topcoat on a scrap piece of the same wood. Compare color, gloss level and texture under natural light. A satin or matte sheen is often easier to blend than high gloss. Build coats gradually, and feather each new layer into the surrounding area. If the match is still off after testing, a full refinish of the neck may look more consistent than a localized touch-up.
How long should a guitar neck finish cure before restringing?
Drying and curing times vary by product and by humidity, so follow the label. Oil finishes can feel dry to the touch within hours but may need several days or longer to fully cure between coats and before heavy handling. Lacquers and polyurethanes typically need more time before restringing and playing. Avoid tightening strings or setting up the neck until the finish is firm and no longer tacky. Rushing this step can leave fingerprints, dents or a soft film.