
Quick Summary
To pack guitar pedals for international tours, plan which pedals you need for each show, choose carry-on or checked luggage, and protect every unit before packing. Wrap each pedal in foam or bubble wrap, separate pedals so they cannot touch, and keep cables and power supplies in a labeled pouch.
- Bring only the pedals each show needs, plus one spare for high-risk units.
- Remove cables, power and batteries before wrapping each pedal.
- Use two layers of bubble wrap with bubbles facing inward for better protection.
- Separate every pair of pedals with foam or clothing to prevent scratches and cracked footswitches.
- Check each power supply's voltage rating and use a plug adapter at each destination.
Table of Contents
- Why Packing Guitar Pedals for International Tours Needs a Plan
- Choosing Which Pedals and Gear to Bring
- Carry-On or Checked Luggage for Guitar Pedals
- Packing Guitar Pedals Without a Pedalboard
- Step-by-Step Packing Method for Individual Pedals
- How to Transport a Pedalboard Through the Airport
- Protecting Guitar Gear During Air Travel
- Batteries, Power Supplies and Customs Paperwork for Touring
- Your Pre-Departure Packing Checklist Before the Next Tour Leg
- Frequently Asked Questions
How Do You Pack Guitar Pedals for International Tours?
Last Updated: November 12, 2026
Packing guitar pedals for an international tour takes more planning than most musicians expect. A single cracked jack, a bent chassis or a dead power supply can cost you a show, and sometimes a whole leg of the tour. This guide walks you through the decisions and the packing steps that keep your pedals working from the first gig to the last.
Packing pedals well is mostly about preparation. You choose what to bring, you pick the right bag for each part of the trip, and you protect every unit before it goes anywhere near a baggage handler. The steps below are written for touring musicians who fly, but the same logic applies to bus and van tours.
Why Packing Guitar Pedals for International Tours Needs a Plan
Pedals look sturdy, but they are fragile in transit. Jacks, switches and knobs take the force of every drop and every stack of heavier bags. Packing them on the fly usually means they arrive damaged or get separated from the cables and power supplies they need.
A written plan prevents most of these problems. Before you touch a single pedal, decide:
- Which pedals you actually need for each show
- Whether they travel carry-on or checked
- What protection each unit gets
- How you will power everything at each destination
Planning also keeps you ahead of airline and customs rules, which change from one carrier and country to the next. Check those rules before you pack, not at the check-in counter.
Choosing Which Pedals and Gear to Bring
Start with your rig, not your gear closet. Most touring setups use a core group of pedals, such as a tuner, a drive, a delay, a reverb and a volume or boost. Bring only what the set calls for, plus one spare for anything that carries a lot of risk, like a fragile tuner or a pedal you cannot replace locally.
Ask yourself these questions for each unit:
- Is it needed for every show, or only a few songs?
- Can I get a replacement in the country I'm visiting?
- Does it use a power supply that works abroad?
- How much would losing it cost the tour?
A compact pedalboard is often the best way to carry a core rig. It keeps pedals aligned, shortens setup time and gives you one object to protect instead of ten.
Building a list before packing and checking it against the gig sheet for each city is a practical habit. Removing two or three pedals from the bag can save a lot of weight and a lot of worry. If you are building or replacing a core rig, the 10 % product discount and free shipping offers are worth checking before you buy.
Carry-On or Checked Luggage for Guitar Pedals
Many touring players carry pedals on as carry-on, where they can see them and keep them out of the cargo hold.
Checked luggage makes sense when your rig is too large or heavy to carry on, or when airline rules require it. Keep in mind that most airlines enforce airline size and weight restrictions for both carry-on and checked bags, and extra fees can apply to oversize baggage. Confirm the limits with each carrier on your route, because connecting flights can use different rules.
Whichever option you choose, keep the most valuable and most fragile units with you whenever possible. A hard case with foam inserts can handle the hold, but a pedal sitting in a padded gig bag is more vulnerable if it gets crushed.
Packing Guitar Pedals Without a Pedalboard
Many musicians travel without a pedalboard. That works fine if you protect each unit carefully. The main risks are impact, pressure on the jacks, and cables pulling on the chassis.
Before packing, remove patch cables, disconnect power and check that each pedal's battery compartment is empty if you won't use it on the road. Batteries can leak or drain in storage.
A common mistake is stacking pedals with nothing between them. Even light pedals can scratch each other or crack a footswitch. Put a layer of foam or clothing between every pair and keep the heaviest units on the bottom of the bag.
Pedalboard-free packing also means you need a plan for keeping pedals from shifting. A snug case with dividers works better than a loose tote.
Step-by-Step Packing Method for Individual Pedals
Follow these steps for each unit. Doing them in the same order every time makes the process faster and reduces the chance of forgetting something. The method below assumes you are packing pedals individually, without a pedalboard, into a padded case or suitcase.
- Clean and inspect. Wipe the pedal and check for loose knobs, cracked jacks, or a loose footswitch. Fix problems before the trip, not on the road. A pedal with a cracked jack can fail completely after one more knock.
- Remove cables and power. Unplug the power supply and every cable. Label cables if you have several that look alike. Coil each cable loosely and secure it with a hook-and-loop strap; do not wrap cables tightly around the pedal.
- Remove or secure the battery. If the pedal uses a 9 V battery and you won't need it in transit, remove it. If you keep it installed, tape over the battery clip or place a small piece of foam between the battery and the clip to prevent accidental contact.
- Wrap the pedal. Use closed-cell foam, bubble wrap, or a soft cloth around the full body. Cover the knobs and footswitch area so nothing presses on them. Two layers of bubble wrap with the bubbles facing inward give better protection than one thick layer.
- Secure the wrap. Use strapping tape or a snug sleeve so the padding stays in place. Wrap around the pedal, not over the jacks or labels, to avoid residue.
- Place in the case. Set the wrapped pedal in its slot or pocket. Keep the footswitch side facing away from other units. Put the heaviest pedals on the bottom of the bag and the lightest on top.
- Pack cables and power separately. Keep them in a labeled pouch so they never get lost in the case. A clear zip pouch lets you see the contents without opening it.
- Test the seal. Shake the case gently. Nothing should rattle or slide. If something moves, add foam or reposition the pedal.
Padding, Strapping and Securing Each Pedal
Padding does most of the work. Use closed-cell foam, bubble wrap, or folded clothing, and make sure it covers the corners, jacks, and switches. Strapping tape holds the wrap in place without adding much weight. Avoid wrapping tape directly over labels or jacks, since the adhesive can damage the finish or leave residue.
Watch out: Do not loosen or tape over a footswitch spring or latch. Doing so can cause the switch to stick or fail during the trip.
Packing Multiple Pedals in One Case
When several pedals share a case, separate every pair with a layer of foam or clothing. Even light pedals can scratch each other or crack a footswitch. Use dividers or individual pouches so pedals cannot shift into each other. A snug case with dividers works better than a loose tote. If you are using a suitcase, pack pedals in the center of the bag, away from the wheels and handles, and surround them with soft items on all sides.
How to Transport a Pedalboard Through the Airport
If you bring a pedalboard, plan for airport screening and handling before you leave home. Security staff may ask you to remove electronics from the bag. Keep power supplies and loose cables easy to reach.
Choose a pedalboard case with secure latches and a sturdy handle. Before you leave, tape the latches shut with strapping tape so they cannot pop open. Carry the board upright when possible, and never stack heavy bags on top of it at the check-in counter.
Expect to be asked about the contents of the case. Having a simple list of what is inside speeds up the process and reduces stress at screening.
Protecting Guitar Gear During Air Travel
Air travel exposes gear to pressure changes, temperature swings and rough handling. Pedals are generally fine with these changes, but cracked housings and loose parts show up after a rough trip.
Use a hard case for the most valuable units. Foam inserts that match each pedal's shape hold it firmly and absorb impact. Keep the case shut and latched, and avoid placing it in spots where it could be crushed.
Loosen guitar strings slightly if your guitar travels in the same bag. This is a guitar tip, but it also protects the neck. Keep the instrument in its own case, not the pedal case.
Choosing a protective case with good padding is one of the most effective steps you can take. A gig bag with thin padding will not protect pedals from a hard drop.
Batteries, Power Supplies and Customs Paperwork for Touring
Power and paperwork cause more trouble than most musicians expect, and they are the two areas where a little preparation prevents the most expensive problems. Plan these before you leave.
Lithium Battery Rules for Pedals and Spares
Lithium batteries are subject to airline dangerous-goods rules, so check the watt-hour rating printed on each battery and confirm the current limits with your carrier before you fly.
Keep spare batteries in your carry-on where you can monitor them, and check your airline's current rules on spare batteries before you fly.
Watch out: Do not assume a battery is under 100 Wh because it is small. Read the Wh rating printed on the battery or device label; if the label only shows milliamp-hours (mAh) and voltage, multiply mAh by volts and divide by 1,000 to get Wh.
Destination Power Planning: Voltage, Plugs and Adapters
A plug adapter changes the shape of the plug; it does not change the voltage. Check the voltage rating on each pedal's power supply before connecting it to a local outlet.
Before each tour leg, build a simple power sheet for every destination:
- Voltage: Confirm the local voltage (120 V, 230 V, etc.).
- Plug type: Note the outlet type(s) used in the country.
- Power supply rating: Check the label on each pedal's power supply. Look for "100-240 V" or "120 V only." A switchable supply rated 100-240 V works in most countries with the right plug adapter.
- Frequency: Most pedal power supplies are frequency-agnostic, but check the label if it specifies 50/60 Hz.
- Adapter type: Carry a universal travel adapter plus a spare for each plug type on your route.
If your power supply is 120 V only, you need a step-down transformer (often called a voltage converter) rated for the total wattage of your pedals. Add up the current draw (in milliamps) of every pedal on the board, multiply by the supply voltage, and choose a converter with headroom above that figure. Many touring players instead carry a 100-240 V switchable supply to avoid converters entirely.
Customs, Temporary Imports and Proof of Ownership
Touring gear crossing a border can trigger customs questions. The goal is to prove the gear is yours, is temporary, and will leave the country with you.
- Carry a gear inventory. List every pedal and its serial number. Keep a printed copy and a digital copy on your phone.
- Photograph everything. Take clear photos of each pedal showing the serial number and any distinguishing marks. Store them in a cloud folder you can access abroad.
- Carry proof of ownership. Receipts help, but photos and a signed inventory are often enough. If gear is borrowed or rented, carry a letter or contract showing the arrangement.
- Ask about temporary import documents. Some countries offer a carnet or similar temporary-import document that simplifies clearance and avoids deposits. Rules vary widely by country, so contact the customs authority of each destination before you travel.
- Declare accurately. If a customs officer asks, declare the gear as professional equipment for temporary use. Understating value or hiding gear can lead to seizure and fines.
Watch out: A carnet or temporary-import document is not universal. Confirm with each country's customs authority whether one is required, accepted, or available before you rely on it.
Insurance and Damage Documentation
Check whether your tour insurance or equipment policy covers gear in transit and abroad, and read its exclusions. Keep copies of receipts, serial numbers, and photos of each unit in case you need to file a damage claim. Report damage to the carrier before leaving the airport when possible, and photograph the damage and the packaging.
Power and paperwork cause the most expensive problems on tour, so the key checks are summarised below.
| Check | What to confirm | Why it matters |
|---|---|---|
| Lithium battery rating | Wh figure on the label | Airline dangerous-goods limits apply |
| Voltage | 120 V, 230 V or similar at each stop | Wrong voltage can damage pedals |
| Power supply rating | "100-240 V" or "120 V only" | Determines whether a converter is needed |
| Plug adapter | Outlet type for each country | Adapters change shape, not voltage |
| Gear inventory | Serial numbers saved on your phone | Proves ownership at customs |
| Temporary import document | Carnet or local equivalent, if required | Rules vary by country |
Your Pre-Departure Packing Checklist Before the Next Tour Leg
Use this checklist before every leg of the tour. It takes a few minutes and helps catch common problems.
- Pedal list matches the gig sheet for each show
- Each pedal is cleaned, inspected and wrapped
- Footswitches and jacks are protected
- Cables and power supplies are in a labeled pouch
- Power supplies are checked for voltage and plug type at each destination
- Batteries are removed or packed according to airline rules
- Carry-on and checked bags are within airline size and weight limits
- Hard cases are latched and taped shut
- Inventory list with serial numbers is saved on your phone
- Insurance and documentation are copied and accessible
Taking a few minutes to run through this list before each leg keeps your rig in working order and your tour on schedule.
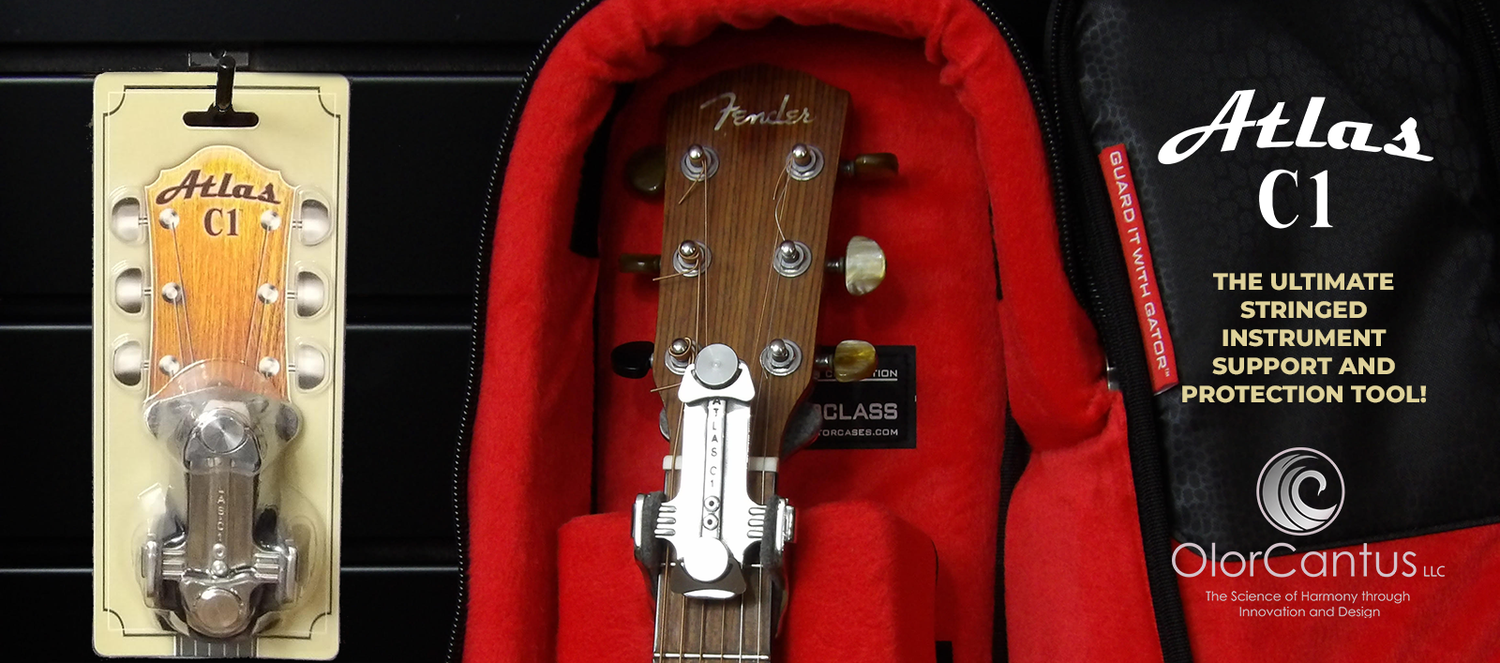
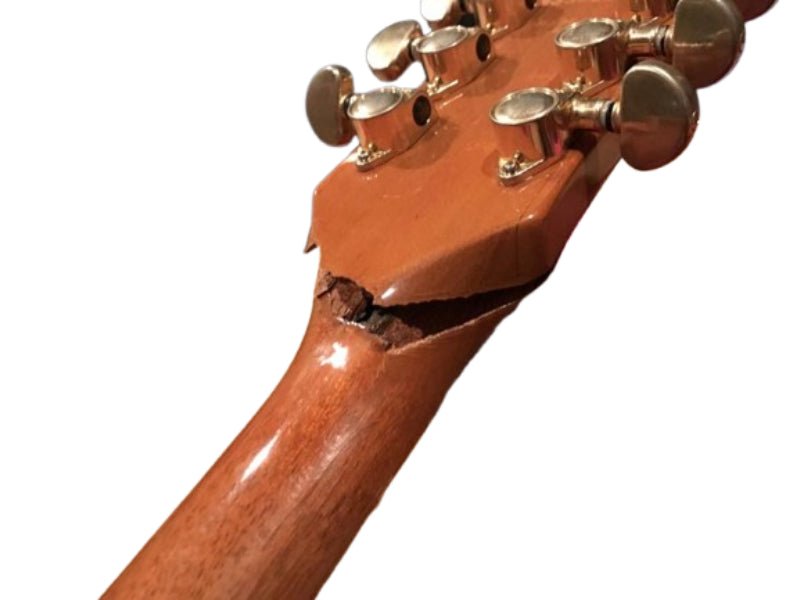
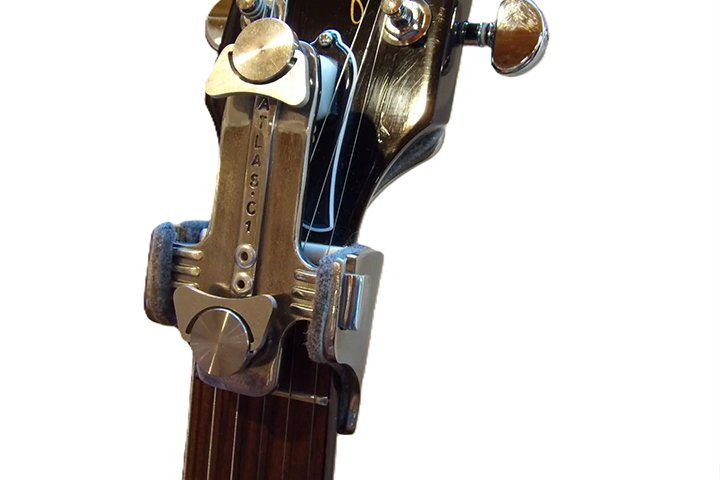
For touring musicians who want to protect a headstock as well as their pedals, the Atlas C1 is built to guard the vulnerable headstock-neck junction during travel and shipping. Its U.S. patent-protected design counters the string pressure a headstock has to hold, and it doubles as a pre-aligned repair jig if a break does happen. It is a lifetime-use tool, and it is available at Guitar Center.
The Science of Harmony through innovation and design. Long Live the Six String™
Frequently Asked Questions
Can you bring guitar pedals on an airplane?
Yes. Guitar pedals are generally allowed in carry-on and checked luggage on U.S. domestic and most international flights. Pack them so they cannot shift or be crushed, keep batteries and power supplies organized, and expect them to be screened at security. Individual airlines set their own baggage allowances and weight limits, so check your carrier's rules before you fly. If a pedal contains a lithium battery, keep it in your carry-on where you can monitor it.
Should guitar pedals go in carry-on or checked luggage?
Carry-on is the safer choice for most touring pedals. Checked bags can be mishandled, and damage or loss is more likely there. Keep valuable or fragile pedals, power supplies and any battery-powered units in your carry-on. Checked luggage works for bulky, low-value items if they are heavily padded in a rigid case. Weigh your bags before you leave, since oversize and overweight fees add up quickly.
Can you travel internationally with a pedalboard?
Yes, but a full pedalboard is often too large or heavy for an overhead bin, so many touring players check it in a padded hard case. Confirm the dimensions and weight limits with your airline before you book. Plan a backup for your most essential pedals in your carry-on in case the board is delayed or damaged. Bring the board's power supply and cables in your carry-on so you can test your rig on arrival.