
Last Updated: October 22, 2026
Quick Summary
The best guitar fret polishing kits for beginners include fret guards, two or more abrasive grits, a polishing cloth, a cleaning tool, and storage organization. Quality kits like FRINE and FRTLZR with Micro-Mesh sheets use replaceable supplies and clear instructions to help you achieve professional results on your first attempt without damaging your fretboard.
- Fret guards protect your fretboard wood while polishing and are essential for beginners to avoid accidental scratches.
- Kits with multiple grits and replaceable supplies cost less over time than cheap kits you must replace entirely.
- Steel wool sheds magnetic fibers that can damage pickups and scratch frets; use Micro-Mesh or polishing paper instead.
- Always clean your frets first, then polish with the correct grit sequence, starting coarse and working toward fine.
- Stainless steel frets polish to a mirror shine faster than nickel-silver and stay bright for months after polishing.
Table of Contents
- What to Look for in a Guitar Fret Polishing Kit
- FRINE Fret Polishing Kit: Complete Five-Piece System
- FRTLZR Premium Bundle: Sanding and Polishing Combined
- FRTLZR with Micro-Mesh Sheets: Replacement Supplies Built In
- How to Polish Guitar Frets Without Damaging Your Instrument
- Essential Guitar Fret Polishing Tools and Materials
- Stainless Steel Fret Polishing: Technique and Benefits
- Alternatives to Steel Wool for Guitar Frets
- When to Polish Your Frets and When to Seek Professional Help
- Protecting Your Investment Beyond Polishing
- Frequently Asked Questions
What to Look for in a Guitar Fret Polishing Kit
Most beginner-focused fret polishing content tells you to find the best guitar fret polishing kits for beginners by looking for guards and multiple grits, then stops there. That advice is technically correct but useless when you're staring at three product listings that all claim to include those things. This section gives you a concrete buying framework so you can compare kits on the criteria that actually affect your results, your instrument's safety, and your long-term cost.
The Beginner Kit Checklist
A complete beginner kit should include five categories of items. If a kit is missing more than one, you'll be buying supplies separately, which usually costs more than choosing a more complete kit upfront.
- Fret guards or masking system. Purpose-built fret guards protect the fretboard wood while you work on each fret. Painter's tape works but is slower and leaves residue on some finishes. Kits that include guards sized for common fret wire widths save you from improvising.
- Two or more abrasive grits. You need a coarser material for removing oxidation and a finer material for bringing up shine. Single-grit kits force you to choose between slow cleaning or a scratched finish.
- Polishing compound or cloth. Micro-fine compound removes tarnish and leaves a bright surface. A dedicated polishing cloth prevents cross-contamination between cleaning and finishing stages.
- Cleaning tool. A soft brush or cleaning cloth for removing grime and metal dust before polishing. Skipping this step traps dirt under the polishing compound.
- Storage or organization. Small parts like guards and sheets are easy to lose. A pouch or case keeps the kit usable for years.
Compatibility: Fret Material and Fretboard Finish
Not every kit works the same on every instrument. Before buying, check two things: your fret material and your fretboard finish.
Fret material. Nickel-silver frets are softer and oxidize faster than stainless steel. They respond well to micro-fine compounds and fine abrasives but can be scratched by coarse sanding if you're not careful. Stainless steel frets are harder and polish to a brighter shine more quickly, but they wear out abrasive sheets faster. Kits that include durable materials like Micro-Mesh tend to last longer on stainless steel.
Fretboard finish. Finished fretboards (common on maple necks) have a clear coat that can be damaged by aggressive abrasives or chemical polishes. Unfinished fretboards (rosewood, ebony, pau ferro) are more forgiving but can absorb oils and compounds, which darkens the wood. If your guitar has a finished board, prioritize kits with fine abrasives and avoid anything that requires liquid polish near the finish.
Ease of Use and Learning Curve
Beginner kits should reduce the number of decisions you make during your first session. Look for kits that include step-by-step instructions, pre-sized guards, and a clear grit sequence. Kits that require you to cut your own guards or guess which sheet to use first add friction that leads to mistakes.
A common pattern among beginners is buying one of the best guitar fret polishing kits for beginners with excellent materials but no guidance, then using the coarsest grit first on a finished fretboard and causing scratches. The best beginner kit is the one you can use correctly on the first try, even if it costs a little more than a bare-bones option.
Replacement Supplies and Long-Term Cost
Fret polishing is repeatable maintenance, not a one-time job. Nickel-silver frets oxidize again within weeks to months depending on humidity and playing frequency. That means consumables matter.
Check whether the kit's abrasive sheets or cloths are replaceable individually. Kits that use standard-sized Micro-Mesh sheets or common polishing cloths are easier to replenish than kits with proprietary consumables. A kit that costs more upfront but uses replaceable supplies often costs less over two or three years than a cheap kit you have to replace entirely. Many retailers offer product discounts and free shipping on orders, which can significantly reduce your long-term maintenance costs.
FRINE Fret Polishing Kit: Complete Five-Piece System
The FRINE Fret Polishing Kit stands out because it's specifically designed for the cleaning-then-polishing workflow. This five-piece system uses micro-fine polishing compounds formulated to remove oxidation, dirt, and accumulated oil from frets without aggressive abrasion.
What makes FRINE work for beginners is the inclusion of fretboard-protection features built into the kit itself. You're not improvising masking tape or worrying about damaging your fingerboard. The kit handles that concern for you. The polishing cloth is machine washable, which means you can reuse it multiple times rather than constantly buying replacements.
The FRINE approach focuses on restoration rather than aggressive restoration. If your frets have light to moderate oxidation and you want them looking clean and bright again, this kit delivers exactly that. It's not designed to address deep scratches or severe pitting, that's a different category of work.
Pros:
- Micro-fine compounds are gentle on fret surfaces
- Fretboard protection included in the system
- Reusable, machine-washable cloth reduces ongoing costs
- Designed specifically for fret cleaning and polishing
Cons:
- Limited to light-to-moderate oxidation removal
- Does not address fret scratches or damage
- Research data does not show a complete itemized list of all five pieces
FRTLZR Premium Bundle: Sanding and Polishing Combined
If your frets have visible scratches or deeper oxidation that won't respond to polishing alone, the FRTLZR Premium Bundle takes a different approach. This system combines sanding and polishing in one workflow, which means you can address both surface damage and oxidation in a single process.
The bundled system removes scratches first through controlled sanding, then brings the frets to a professional finish with polishing. This two-stage method produces results that polishing alone cannot achieve. For beginners concerned about fret appearance after years of playing, this addresses the full spectrum of wear.
FRTLZR positions this bundle as delivering a professional finish. That's important because it sets expectations correctly, you're not just cleaning frets, you're restoring them to near-original condition. The system assumes you want visible improvement, not just maintenance.
Pros:
- Combines sanding and polishing for comprehensive restoration
- Addresses both scratches and oxidation in one system
- Produces professional-quality results
- Bundled approach simplifies the process
Cons:
- More aggressive than polish-only systems
- Requires more care to avoid over-sanding
- Research data does not show the complete bundle contents or pricing
FRTLZR with Micro-Mesh Sheets: Replacement Supplies Built In
The FRTLZR Premium Guitar Fret Polishing Kit with Micro-Mesh sheets appeals to beginners who want the option to replenish supplies without buying a whole new kit. This version includes four Micro-Mesh sheets and makes replacement sheets readily available for future use.
Micro-Mesh is a reusable polishing material that holds up better than traditional abrasive paper. Each sheet lasts longer, which means lower per-use costs over time. For someone planning to maintain their frets regularly, this matters. You buy the kit once and refresh supplies as needed rather than replacing the entire system.
The availability of replacement sheets also means you're not locked into a single-use consumable model. Many polishing kits force you to buy a new kit when materials run out. This one lets you extend the life of your investment. For beginners building a maintenance routine, that's a practical advantage.
Pros:
- Micro-Mesh material is durable and reusable
- Replacement sheets are available and affordable
- Four-sheet starter supply provides multiple uses
- Long-term cost advantage over single-use systems
Cons:
- Research data does not specify the grit range of included sheets
- Current pricing not shown in available information
- Micro-Mesh requires proper storage to maintain effectiveness
How to Polish Guitar Frets Without Damaging Your Instrument
Polishing guitar frets safely requires three critical steps: protecting your fretboard, using the right technique, and knowing when to stop. Most damage happens not during polishing, but during setup or cleanup when someone isn't paying attention.
Protecting Your Fretboard During Polishing
Your fretboard is vulnerable to scratches and damage during polishing. The best protection is a dedicated fret guard or masking system. If your kit doesn't include fret guards, you can use painter's tape, but it's slower and less reliable than purpose-built guards.
Fret guards sit on either side of each fret, protecting the wood or rosewood of the fretboard while you work on the fret itself. They reduce the risk of accidental scratches from your polishing cloth or paper. Quality kits include guards that fit multiple fret sizes, which matters because fret dimensions vary by instrument.
Before you start polishing, inspect your frets for any existing damage. If you see deep gouges or pits, polishing won't fix them, you need professional repair. Polishing addresses surface oxidation and light scratches, not structural damage.
Common Mistakes to Avoid When Polishing
The biggest mistake beginners make is applying too much pressure. Polishing works through the abrasive action of the material, not the force of your hand. Pressing hard does not speed up the process; it creates uneven results and risks damaging frets.
Another common error is skipping the cleaning step. Oxidation and grime sit on top of the fret metal. If you polish over that, you trap dirt and create a dull finish instead of a bright one.
A third mistake is using the wrong grit sequence. If your kit includes multiple grits, start coarse and work toward fine. Skipping grits or reversing the sequence leaves visible scratches that finer polishing cannot remove.
Many beginners also forget to mask off the fretboard properly, then spend an hour cleaning up scratches they created accidentally. Ten minutes of proper masking saves you hours of frustration.
Essential Guitar Fret Polishing Tools and Materials
Beyond the kit itself, you need a few supporting items. A straightedge or fret rocker helps you identify high and low spots before polishing. A cleaning cloth or soft brush removes dust between polishing stages. And a final protective coating, applied after polishing, prevents rapid re-oxidation.
Polishing cloth quality matters more than most beginners realize. A cheap cloth sheds fibers into your frets and leaves a hazy finish. A quality microfiber cloth or the machine-washable cloth included in kits like FRINE holds up through multiple uses and produces a cleaner result.
Polishing compound consistency is also important. Thin, runny compounds spread unevenly and dry too quickly. Thicker compounds stay where you apply them and give you better control. The micro-fine compounds in dedicated fret-polishing kits are engineered for this balance.
Stainless Steel Fret Polishing: Technique and Benefits
Stainless steel frets are increasingly common on modern guitars, and they respond differently to polishing than nickel-silver frets. Stainless steel is harder and more resistant to oxidation, which means polishing produces faster, more dramatic results.
The technique is identical, clean, then polish with appropriate grits, but the outcome is different. Stainless steel polishes to a mirror shine more quickly than softer alloys.
Stainless steel also resists tarnish longer after polishing, which means your results last. Nickel-silver frets begin oxidizing again within weeks. Stainless steel stays bright for months. This durability is one reason stainless steel has become standard on higher-end guitars.
If your guitar has stainless steel frets, polishing is genuinely worth doing. The visual improvement justifies the effort. If you have nickel-silver frets, polishing is still worthwhile, but understand that you'll need to repeat it periodically.
Alternatives to Steel Wool for Guitar Frets
Steel wool is the default recommendation in many older guitar maintenance guides, and it's a bad one for beginners. The problems aren't just about finish quality. Steel wool sheds fine metal fibers that stick to frets, migrate toward pickups, and can cause scratches that are harder to remove than the oxidation you started with. This section explains why steel wool is risky, what to use instead, and how to clean up safely if you've already used it.
Why Steel Wool Is a Poor Choice for Beginners
Steel wool is aggressive and unpredictable. The fibers break off as you work, and those fibers are magnetic. On an electric guitar, they can be attracted to pickup magnets and lodge near the pole pieces, where they're difficult to remove and can cause intermittent signal issues or scratches on the pickup covers.
Steel wool also removes material unevenly. Beginners tend to apply too much pressure, which can flatten the crown of the fret and change its shape. Once the crown is flattened, the fret needs recrowning, which is professional work. The cost of a recrowning job far exceeds the cost of a good polishing kit.
Finally, steel wool leaves a dull, streaky finish compared to engineered abrasives. It cuts aggressively but doesn't polish to a bright shine, so you end up doing a second step with a finer material anyway.
Safer Alternatives: Micro-Mesh, Polishing Paper, and Cloth
Micro-Mesh is a cushioned abrasive sheet with a flexible backing. It doesn't shed fibers, it's reusable, and it comes in a range of grits from coarse to very fine. Most quality fret polishing kits use Micro-Mesh or a similar engineered material.
Polishing paper (sometimes called lapping film or abrasive paper) cuts more aggressively than cloth but less aggressively than steel wool. It's disposable, which means you're not fighting with clogged material, and it's easy to control because it doesn't shed.
Polishing cloth and compound are the safest option for light oxidation and final shine. A microfiber cloth with a micro-fine compound removes tarnish without abrasion risk.
Brass brushes are sometimes recommended for heavy grime, but they're too aggressive for final polishing. Use them only in the cleaning stage, and only on unfinished fretboards where you can see and control the contact area.
Cleanup and Safety Checklist
If you've used steel wool or are working near electronics, follow this checklist to prevent damage:
- Work in a well-ventilated area and cover the pickups with painter's tape before starting.
- Use a magnet wrapped in cloth to pick up stray fibers near the pickups and bridge.
- Vacuum the fretboard, case, and work surface after polishing.
- Wipe down the instrument with a microfiber cloth to remove dust and residue.
- Inspect the pickups and electronics for any lodged fibers before plugging in.
For beginners, the safest path is to skip steel wool entirely and choose a kit that uses Micro-Mesh or polishing paper. The slight extra cost is worth avoiding the risk of scratched frets, contaminated pickups, and a recrowning bill.
When to Polish Your Frets and When to Seek Professional Help
Polishing is appropriate when your frets have surface oxidation, light tarnish, or minor grime. If you can see the problem on the fret surface and it's not a structural issue, polishing can address it.
Do not attempt polishing if your frets have deep pitting, cracks, or uneven crowning. These are structural issues that require professional fret dressing or replacement. Polishing over these problems won't fix them and might make them worse by removing more material unevenly.
If you're unsure whether your frets need polishing or professional repair, take a straightedge and place it across your frets. High and low spots indicate crowning issues. Visible pits or cracks indicate damage beyond polishing.
Polishing is also unnecessary if your frets are already in good condition. If they're bright, smooth, and playable, you're maintaining them correctly. Polishing is restoration, not routine maintenance. Do it when your frets actually need it, not on a schedule.
Protecting Your Investment Beyond Polishing
After polishing, protect your frets with a light coat of fret oil or protective compound. This slows re-oxidation and keeps your frets bright longer.
Store your guitar in a case or gig bag when you're not playing. This reduces exposure to humidity and air, both of which accelerate oxidation. A case also protects your frets from accidental damage during transport or storage.
Regular playing actually helps protect frets. Your hands deposit natural oils that slow oxidation. Guitars that sit unplayed for months develop heavier oxidation than guitars played regularly. If you want to keep your frets bright, play your guitar.
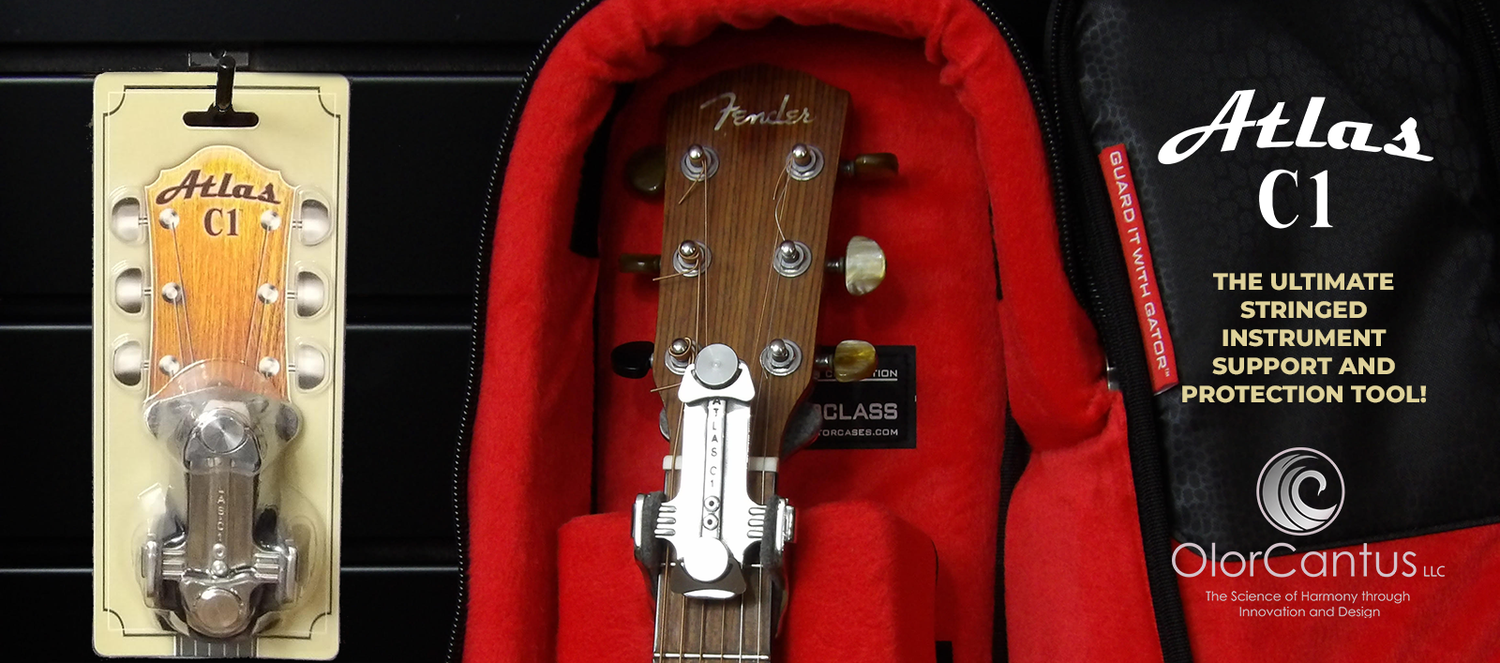
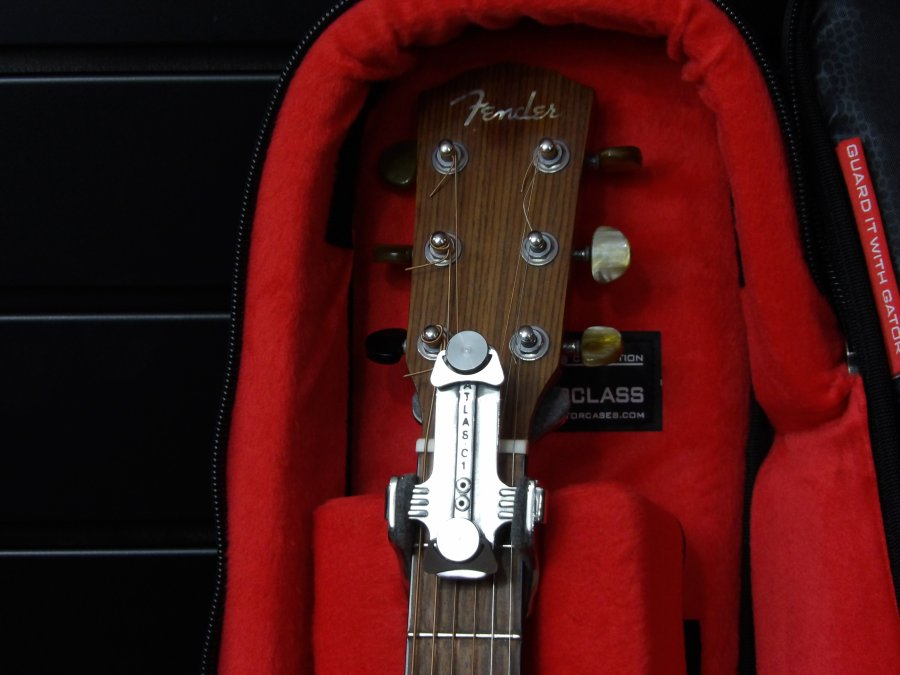
Consider investing in the Atlas C1, a precision-engineered tool designed to protect stringed instruments from headstock damage during travel and storage.
For your fret polishing needs, the FRINE Fret Polishing Kit, FRTLZR Premium Bundle, and FRTLZR with Micro-Mesh Sheets each offer distinct advantages depending on your fret condition and maintenance goals.
Frequently Asked Questions
Can beginners use a fret polishing kit safely?
Yes, beginners can use fret polishing kits safely by following the kit's instructions carefully and using fretboard guards to protect the wood. Start with light pressure and work slowly. Most kits are designed to be beginner-friendly, with pre-measured polishing compounds and clear guidance. Take your time with the first application to build confidence, and always test on a less visible area first if you're uncertain.
What's the safest way to protect a guitar fretboard while polishing frets?
Use fret guards or masking tape to shield the fretboard wood from polishing compounds and abrasive materials. Many kits include specialized guards that fit between frets. Tape the headstock and body edges where they meet the fretboard. Work methodically down the neck, polishing one or two frets at a time, and wipe away residue with a clean cloth before moving to the next section. This prevents compound buildup and keeps the wood safe.
How do I know if my frets need polishing or if they need professional repair?
Light tarnish, oxidation, and surface grime respond well to polishing kits. If your frets have deep pits, significant wear, or uneven heights that affect playability, you need professional fret leveling or dressing, not polishing. Minor scratches and dull shine are perfect for DIY polishing. If you're unsure whether your frets are playable or just dull, test the action and intonation first, polishing won't fix playability issues caused by fret wear or neck problems.
What are the best alternatives to steel wool for polishing guitar frets?
Micro-Mesh sheets, polishing cloths, and micro-fine abrasive papers are safer alternatives to steel wool. Steel wool can leave fibers on frets and fretboard, which is why most professional kits use synthetic materials instead. Micro-Mesh is reusable, comes in multiple grits, and works without shedding. Polishing compounds paired with soft cloths also work well for final shine without the risk of scratching or leaving debris behind.
Keeping your frets polished and protected extends the life and playability of your guitar. The best guitar fret polishing kits for beginners balance ease of use with real results. Whether you choose FRINE for gentle cleaning or FRTLZR for deeper restoration, start with proper fretboard protection and the right technique. Your frets will reward you with years of bright, smooth playability.