
Table of Contents
- Assessing the Damage: Is Your Snapped Guitar Neck a DIY Job?
- Tools and Materials You'll Need for the Repair
- Choosing the Best Wood Glue for Guitar Neck Repair
- How to Fix a Broken Guitar Headstock: Step-by-Step
- Guitar Neck Clamping Techniques for a Tight Joint
- Curing Time, Finish Touch-Up, and Structural Testing
- Preventing Future Breaks: Truss Rod Care and Travel Protection
- Frequently Asked Questions
Last Updated: September 14, 2026
Assessing the Damage: Is Your Snapped Guitar Neck a DIY Job?
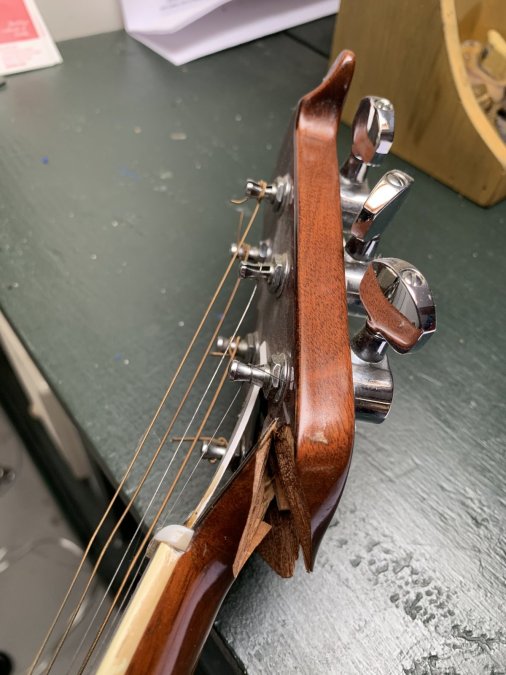
A snapped guitar neck is a fracture at the headstock-to-neck junction, the weakest point on most angled-headstock instruments. Whether you can repair it at home depends on where the break sits and how cleanly the wood separates. This guide from Atlas C1 walks through the repair the way working techs approach it, from triage to final string-up.
Most headstock breaks happen at the scarf joint or just above the nut, where the grain runs short and string tension pulls constantly. A clean break with matching surfaces is a realistic home repair. A splintered mess with missing wood is not.
Most players get this wrong: they panic and squeeze the crack shut with bare hands before assessing grain alignment, crushing the fibers you'll need to mate back together.
Hairline Crack vs. Full Break: What You're Dealing With
A hairline crack is a partial separation along the grain that hasn't opened fully. You can often flex it slightly by hand, and glue wicks in through capillary action.
A full break means the headstock has separated completely. You're now aligning two pieces, not sealing one.
- Hairline: injectable, low clamping pressure, shorter cure
- Full break: full surface prep, alignment jig, higher clamping pressure
- Either way, if wood is missing, stop and call a luthier
When to Walk Away: Signs You Need a Luthier
Walk away when the break runs into the truss rod channel, when more than a small sliver of wood is missing, or when the fracture crosses the fretboard. Those repairs need splines, grafts, or a full headstock replacement, and a jig you don't own.
Tools and Materials You'll Need for the Repair
The right toolkit for a home headstock repair is small, but each item matters:
- Wood glue (aliphatic resin or hide glue, not epoxy)
- Disposable syringes with fine tips for injecting hairline cracks
- Clamping blocks and cauls cut from scrap hardwood
- Wax paper to prevent glue squeeze-out from bonding your cauls to the finish
- Denatured alcohol and lint-free cloths for surface prep
- A damp rag for immediate squeeze-out cleanup
- A precision repair jig for holding grain alignment while the glue cures
That last item is where most home repairs fail. Without a jig holding the headstock at the correct angle, the two halves shift under clamping pressure.
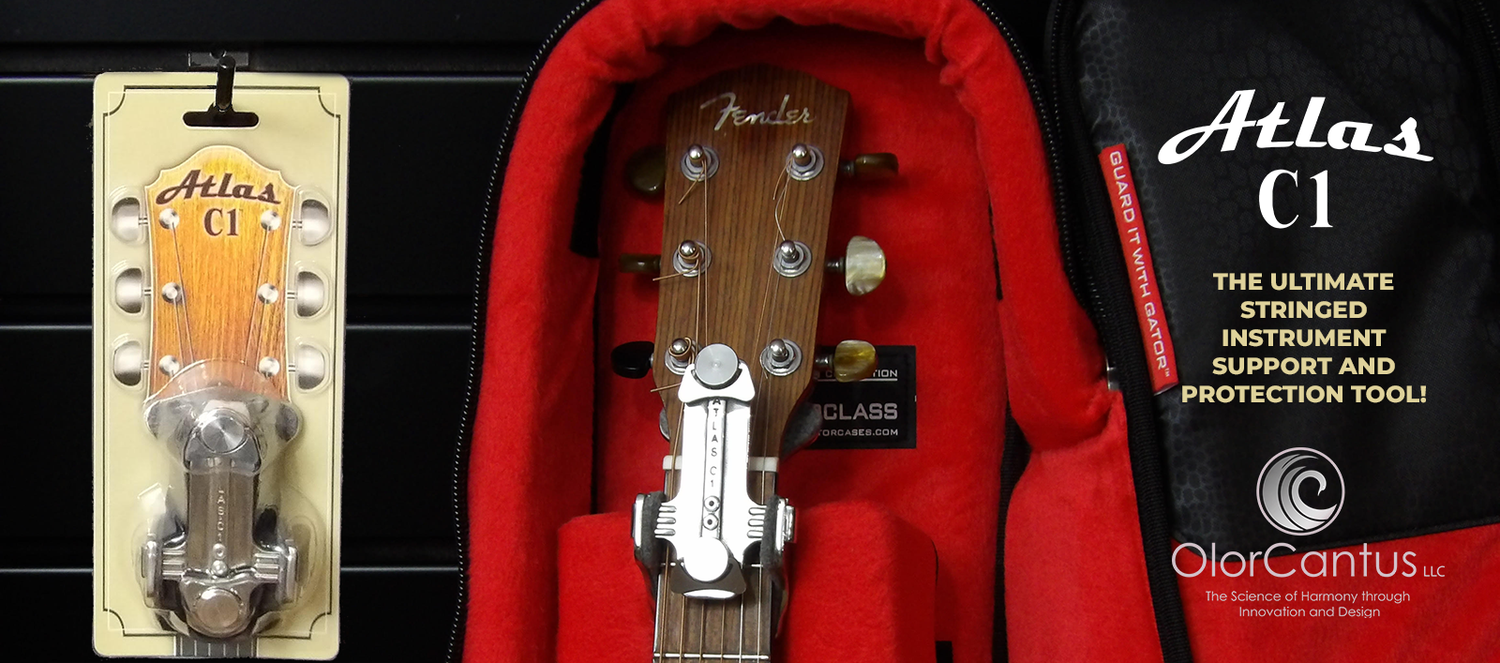
The Atlas C1 is a universal multi-function tool built for exactly this: it supports the headstock-neck junction during travel and storage, and doubles as a pre-aligned repair jig when a break happens. Because it holds the headstock at the correct angle before you apply clamps, grain alignment stays put while the glue sets, removing the most common cause of failed home repairs. Ordering one is straightforward too, with free shipping on every order.
Choosing the Best Wood Glue for Guitar Neck Repair
The best wood glue for guitar neck repair is hide glue for vintage or high-value instruments and aliphatic resin for most modern guitars. Both form bonds stronger than the wood itself when the joint is clean and clamped correctly, but the choice determines reversibility, open time, and how the bond behaves under decades of string tension.
Hide Glue vs. Aliphatic Resin: Which Holds Better?
Hide glue is the traditional choice for mechanical reasons. It's a protein colloid that gels as it cools and loses moisture to form a crystalline bond, which creeps less under sustained load than aliphatic resin's thermoplastic bond, why high-end builders still use it on neck joints holding string tension for fifty years. It's also reversible with heat and moisture, so a luthier can steam the joint apart decades later without cutting wood, protecting a vintage instrument's value.
Aliphatic resin (the yellow wood glue most players know) is a polyvinyl acetate emulsion modified with aliphatic resins. It has a longer open time, needs no heating, cleans up with water, and bonds stronger than the wood fibers around it, the practical choice for a modern guitar. The trade-off: it's a thermoplastic that softens with heat, so a future repair is harder to reverse cleanly.
Factor |
Hide Glue |
Aliphatic Resin |
|---|---|---|
Open time |
Short, needs heat |
10-20 minutes |
Reversibility |
Yes, with heat and moisture |
Difficult |
Creep resistance |
Excellent |
Good |
Gap filling |
Poor |
Poor |
Cleanup |
Warm water |
Water |
Best for |
Vintage, high-value |
Modern guitars |
Working techs keep both on the bench: hide glue for anything with collector value, aliphatic resin for the everyday player's guitar.
Why Epoxy Is Rarely the Right Choice
Epoxy is gap-filling and permanent, both liabilities on a headstock break. It won't wick into a hairline crack like a low-viscosity glue, and if the repair fails later you can't reverse it without cutting wood away. Its different modulus of elasticity also transfers stress into the surrounding grain instead of flexing with it, which is how a repaired headstock develops a new crack six inches down the neck.
How the Break Affects Your Truss Rod
The truss rod runs through a channel cut down the center of the neck, and on many guitars that channel extends into the headstock area. If your break crosses or approaches it, the glue you choose and the way you clamp can affect the rod's ability to move.
Before you glue anything, check two things:
- Rod access: Can you still turn the truss rod nut through its access point? If the break has shifted the headstock, the nut may be misaligned. Test it before glue, not after.
- Rod relief: With the strings off, sight down the neck. If the neck has excessive relief or back-bow, the rod may already be near the end of its adjustment range. A repair that locks the rod in a bad position leaves you with a neck you cannot adjust.
If the break runs into the truss rod channel, stop and consult a luthier, gluing it can lock the rod permanently.
How to Fix a Broken Guitar Headstock: Step-by-Step
Fixing a broken guitar headstock at home comes down to four things: clean surfaces, correct glue, even clamping pressure, and patience. Get those right and a clean break holds for decades.Atlas-C1-A Guitar Headstock Support & Protection Tool
Surface Preparation and Cleaning the Break
Remove all loose fibers with a soft brush. Don't sand the mating surfaces unless the break is ragged, sanding rounds the edges and creates gaps. Wipe both surfaces with denatured alcohol and let them dry fully; any oil, finish, or dust weakens the bond.
Injecting Glue and Aligning the Grain
For a hairline crack, load a syringe with glue and inject along the crack line, working from the deepest point outward.
Guitar Neck Clamping Techniques for a Tight Joint
Using Clamping Blocks and Cauls for Even Pressure
Curing Time, Finish Touch-Up, and Structural Testing
How Long to Wait Before Stringing Up
Checking Structural Integrity After the Repair
Finish Touch-Up and Cosmetic Blending
When to Seek a Professional Luthier
Preventing Future Breaks: Truss Rod Care and Travel Protection
Frequently Asked Questions
Can a snapped guitar neck be repaired at home?
Yes, many snapped guitar necks can be repaired at home, especially clean breaks at the headstock-neck junction. The key is assessing the break: if the wood fibers are mostly intact and the crack is clean, DIY repair with the right glue and clamping is viable. However, if the break is splintered, involves the truss rod, or is on a vintage instrument, a professional luthier is safer.
What is the best wood glue for guitar neck repair?
Hide glue and aliphatic resin (like Titebond) are the top choices. Hide glue is traditional, reversible, and dries hard, making it ideal for vintage guitars. Aliphatic resin is stronger than the wood itself, easy to use, and has a longer open time. Avoid epoxy unless the break is contaminated with oil or the joint is underfilled. For most DIY repairs, a high-quality aliphatic resin is the best balance of strength and workability.
How do you clamp a guitar neck repair to ensure proper alignment?
Use clamping blocks or cauls to distribute pressure evenly and protect the finish. Apply moderate pressure—enough to close the gap but not so much that you starve the joint of glue. Check alignment by running a straightedge along the fretboard and ensuring the headstock angle matches the original. Clamps should be positioned to pull the break together without twisting. Let it cure for 24 hours before removing clamps.
When should you take a broken guitar to a professional luthier?
If the break involves the truss rod, splintered wood, or multiple cracks, or if the guitar is valuable or vintage, see a luthier. Also, if you lack clamping tools or confidence in alignment, professional repair prevents further damage. A luthier can also address finish touch-up and structural testing. For simple, clean breaks on affordable guitars, DIY is often fine. When in doubt, get a quote before attempting repair.