
Table of Contents
- Assessing the Headstock Break Before Starting Repairs
- Preparing Tools and Materials for Your Repair
- Choosing the Right Guitar Headstock Glue
- Cleaning and Preparing the Joint
- Dry-Fitting Your Headstock Before Gluing
- Applying Glue and Achieving Proper Glue Penetration
- Headstock Repair Clamping Techniques and Placement
- Alignment Verification and Neck Angle Checks
- Guitar Headstock Repair Time and Cure Management
- Common Mistakes to Avoid During Headstock Repair
- Frequently Asked Questions
Last Updated: October 18, 2026
Assessing the Headstock Break Before Starting Repairs
A broken headstock is one of the most stressful damage scenarios for any guitarist, but most breaks can be repaired successfully if you assess the damage carefully before gluing broken guitar headstock pieces with any glue or clamps. This step determines your entire repair strategy.
Inspecting Break Surfaces and Wood Grain
Examine how the wood fractured on both sides of the break. Are the surfaces clean and relatively flat, or jagged and splintered?
Clean breaks follow the wood grain and fit together precisely, making them easier to repair. Splintered or crushed breaks have more damaged fibers, which makes alignment trickier.
Run your fingers gently across the break surfaces. Feel for:
- Splinters or torn wood fibers
- Dirt, dust, or debris stuck in the crack
- Gaps between the two pieces when held together
- Any areas where the surfaces don't mate flush
Small gaps are normal; large voids mean you may need reinforcement (like a spline or dowel) after gluing.
Determining Break Type and Severity
Headstock breaks fall into a few common patterns. Identifying yours helps you choose the right repair approach.
Clean breaks split the wood along the grain with minimal splintering. These are the easiest to repair because the surfaces align naturally.
Angled breaks split at an angle through the headstock, often near the volute. These need careful clamping to prevent the pieces from shifting sideways during glue-up.
Crushed breaks happen when the headstock takes impact damage. Wood fibers are compressed or shattered. These require extra care with clamping pressure to avoid further crushing.
Multiple breaks involve more than one crack, sometimes radiating from a single impact point. Each break may need individual attention.
Assess severity by checking structural integrity. Can you hold it without the pieces separating? A break that's barely holding is easier to work with than one completely separated, because you have less risk of misalignment during setup.
Preparing Tools and Materials for Your Repair
You don't need a full luthier's workshop, but you do need the right tools and materials on hand before you start gluing.
Gather these essentials:
- Clamps (F-clamps, C-clamps, or bar clamps in varied sizes)
- Wood glue or hide glue
- Clean rags or paper towels
- Masking tape
- Sandpaper (120-grit and 220-grit)
- A straightedge or ruler for alignment checks
- A headstock repair jig or alignment fixture
- Glue brush or applicator
- Sawhorses or a work surface that won't shift
Having everything in place prevents panicked searching mid-repair, since glue sets on a schedule and you can't pause to find a missing clamp.
Choosing the Right Guitar Headstock Glue
The adhesive you choose affects long-term performance, with different working times, cure speeds, and strength characteristics.
Wood Adhesive Options and Their Properties
Wood glue (like Titebond Original) is the most common choice: easy to apply, cleans up with water, and creates a strong joint, though it sets quickly so you must work fast.
Hide glue is a traditional luthier favorite that applies thin, dries hard, and resists creep, but requires more skill: you heat it, apply it, and work quickly before it gels.
Epoxy is stronger than wood glue with more working time. It's overkill for clean breaks but useful for gaps or damage, though harder to remove if you make a mistake.
Super glue (cyanoacrylate) works for small breaks but isn't ideal for headstock repairs. It sets too fast and doesn't fill gaps well.
For most headstock breaks, wood glue is the best choice: forgiving, strong, and widely available. If your break has gaps or you need more working time, consider hide glue or epoxy.
The key to any adhesive is glue penetration. The glue must flow into the wood pores and fibers on both surfaces. This creates the mechanical lock that holds the joint together. Inadequate penetration is one of the most common reasons repairs fail.
Cleaning and Preparing the Joint
Before any glue touches the wood, the joint must be clean and ready.
Opening the Crack and Removing Debris
If the headstock is still partially held together, carefully open the crack to clean it. Patience pays off here.
Use a thin tool like a putty knife or old chisel to gently pry the pieces apart, working slowly so you don't snap the few wood fibers still holding them.
Once the pieces separate, inspect the inside surfaces of the crack. You'll likely find:
- Dust and debris
- Old finish or lacquer
- Dried glue (if this is a re-repair)
- Dirt that settled into the crack over time
Remove all of it with a brush, compressed air, or vacuum, and scrape dried glue or finish with a chisel or card scraper. The goal is bare wood on both surfaces.
Wipe both surfaces with a slightly damp cloth to remove dust. Let them dry completely before gluing. Moisture in the wood interferes with glue penetration.
Dry-Fitting Your Headstock Before Gluing
A dry-fit is a full rehearsal of the glue-up with measurable checks that tell you whether the joint will close cleanly under pressure. Most failed headstock repairs are alignment failures that were visible during a proper dry-fit and ignored.
The Measurable Alignment Checks
Before you apply any glue, run these four checks in order. Each one catches a different type of misalignment.
1. Centerline check. Lay a straightedge along the center of the neck, continuing it up the headstock. The centerline of the neck should run straight through the center of the nut and the center of the headstock face. If the headstock shifts left or right, the string paths will be uneven and the guitar will not intonate correctly. Mark the centerline on both pieces with painter's tape and a fine pencil before clamping, then confirm the marks line up.
2. String-path check. Run a thin string or a piece of dental floss from the nut slot to the corresponding tuning post for the first and sixth strings. The string should pass cleanly through the nut slot and travel in a straight line to the post. If the headstock is rotated even slightly, the string will rub the side of the nut slot or angle sharply toward the post. This check catches rotational misalignment that a straightedge alone will miss.
3. Headstock angle check. Use an angle gauge or a bevel gauge set to the original headstock angle (commonly 13 to 17 degrees on most production guitars, though it varies by model). Compare the repaired angle to the angle on the opposite side of the headstock or to a reference photo taken before the break. A change of even one or two degrees will affect string break angle over the nut and can cause tuning instability.
4. Step and gap check. Run your fingertip across the joint on both the front and back of the headstock. A visible or tactile step means the pieces are not mating flush. A gap that does not close under clamp pressure means debris, crushed fibers, or a misaligned clamp is holding the joint open. Do not proceed until the step is gone and the gap closes.
The Timed Dry-Run Workflow
Treat the dry-fit as a timed rehearsal. Use a stopwatch and aim to complete the full clamp sequence in under three minutes, because that is roughly the working window you will have once wood glue is applied.
- Set up your clamps and cauls in their final positions with the pieces apart. Mark clamp locations with tape on the neck and headstock.
- Assemble the joint without glue and apply clamps in your planned order, tightening each a quarter turn at a time.
- Run all four alignment checks while the clamps are tight. Note any correction you had to make.
- Release the clamps, separate the pieces, and repeat the assembly twice more. The goal is a repeatable sequence with no surprises.
- Record your clamp order on a piece of tape or a notepad next to your work surface. During glue-up you will not have time to think through the sequence.
Break-Specific Dry-Fit Adjustments
Different break shapes need different dry-fit attention.
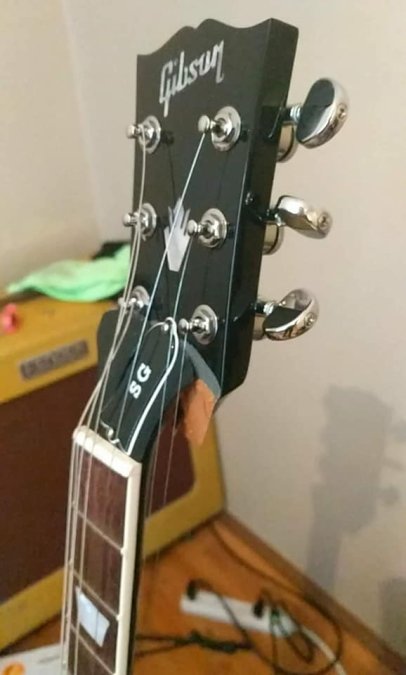
- Angled breaks near the volute: The pieces tend to slide along the angle under clamp pressure. Add a stop block or a small caul behind the headstock to prevent sliding, and dry-fit with the stop block in place.
- Irregular or splintered breaks: The pieces may only mate in one orientation. Mark the orientation with tape arrows on both pieces so you cannot accidentally reverse them during glue-up.
- Multi-piece breaks: Dry-fit the largest two pieces first, then add the smaller pieces one at a time, checking alignment after each addition. Trying to clamp all pieces at once usually causes at least one piece to shift.
When the dry-fit passes all four checks three times in a row without adjustment, you are ready to glue.
Applying Glue and Achieving Proper Glue Penetration
Glue application determines whether the joint will hold or fail.
When gluing broken guitar headstock surfaces, apply glue generously to both sides so it penetrates the wood fibers and fills the joint completely.
Use a brush or applicator to spread glue evenly across the entire break surface, working it into the grain so it flows into the pores rather than sitting on the surface.
Pay special attention to the edges and corners, where dry spots lead to weak joints.
Once both surfaces are coated, press the pieces together. Excess glue should squeeze out, which means glue is being forced into the wood. Wipe it away with a damp cloth before it hardens.
For wood glue, you have roughly 10-15 minutes of working time before it becomes too thick to spread. For hide glue, work faster. For epoxy, you have more time, but follow the manufacturer's instructions.
Headstock Repair Clamping Techniques and Placement
Clamping is where alignment is won or lost. The goal is not maximum pressure but pressure applied in the right direction, at the right points, with enough redundancy that a single clamp slipping does not ruin the joint.
Clamp Placement by Break Shape
Clamp positions should follow the geometry of the break, not a fixed formula.
Clean transverse break across the headstock: Place one clamp on each side of the break, roughly one inch from the edges, with a third clamp centered over the break if the headstock is wide enough. Pressure should be perpendicular to the break line. Use cauls on both faces to spread the load.
Angled break near the volute: The break line runs diagonally, so clamps must be angled to match. Place one clamp perpendicular to the break line on the face side and one on the back side, offset so the pressure vectors cross near the center of the break. A third clamp placed lower on the neck, pulling toward the headstock, prevents the headstock from sliding down the angle.
Splintered or irregular break: Use more clamps with smaller cauls so each clamp can seat on a solid area of wood. Avoid placing a clamp directly over a splintered area, because the clamp will crush the splinters and prevent the joint from closing. Instead, bridge the splintered area with a caul and clamp on either side.
Multi-piece break: Clamp the largest two pieces first and let the glue tack before adding the smaller pieces. Trying to clamp three or more pieces simultaneously almost always results in one piece sliding out of alignment.
Cauls and Pressure Direction
A caul is a scrap of wood or rigid material placed between the clamp and the guitar to spread pressure and protect the finish. Without cauls, clamp heads dent the headstock and concentrate pressure, crushing wood fibers and closing the joint unevenly.
Use cauls that are slightly larger than the clamp head and shaped to match the curve of the headstock where possible. A piece of leather or cork glued to the caul face improves grip and reduces the chance of slipping.
Pressure direction matters as much as pressure location. For a clean break, pressure should be perpendicular to the break line so the joint closes straight. For an angled break, pressure should be perpendicular to the break line but also include a component that holds the headstock against a stop block, preventing it from sliding along the angle.
Preventing and Correcting Joint Slippage
Slippage is the most common glue-up failure. It happens when clamp pressure has a lateral component that pushes the pieces out of alignment, or when one clamp is tightened much more than the others.
To prevent slippage:
- Tighten clamps in small increments, moving around the joint in a consistent order. Never fully tighten one clamp before starting the next.
- Use a stop block or jig to resist lateral movement.
- Apply a small amount of coarse sand or a pinch of salt in the glue joint on hidden interior surfaces; this is a traditional trick that gives the glue something to grip and reduces sliding. Use it sparingly and only where it will not be visible.
- Mark alignment reference lines with tape before clamping so you can see movement immediately.
If the joint slips during glue-up:
- Stop tightening immediately. Do not try to force it back into place with more pressure.
- Loosen all clamps slightly so the pieces can move.
- Realign using your tape marks and stop block, then retighten gradually.
- If the joint will not stay aligned after two attempts, remove the pieces, clean off the glue, and reassess. A failed glue-up that you stop early is far cheaper than one you force and later have to undo.
When to Stop and Consult a Professional
Some breaks are beyond a first-time repair. Stop and consult a professional repair technician if:
- The break involves the truss rod or truss rod channel.
- The headstock is broken in more than three pieces, or pieces are missing.
- The break extends into the fretboard or the nut slot.
- The wood is crushed across more than a small area, meaning the joint cannot close without reinforcement.
- You have attempted a glue-up and the joint will not close or stay aligned after two careful tries.
A professional repair may involve splines, backstraps, or a full headstock replacement, which are beyond the scope of a glue-only repair.
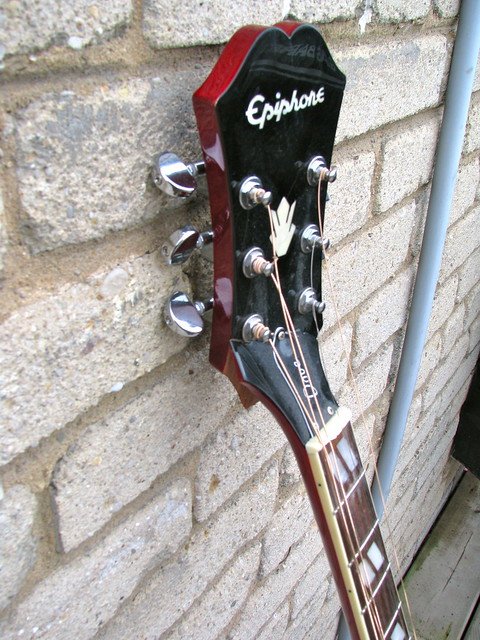
With the right clamp placement, cauls, and a stop block, the joint should close evenly and stay aligned through the full cure. Check alignment every five to ten minutes for the first half hour, then leave the clamps undisturbed.
Alignment Verification and Neck Angle Checks
While the glue sets but before it fully hardens, verify alignment is still correct.
Every 5-10 minutes, check the headstock angle with a straightedge for shifts or rotations, tightening clamps slightly to pull the joint back into alignment if you spot movement.
Pay attention to the neck angle between the neck and body. A repair that changes it will affect playability and string height.
Compare your repair to a reference photo of the guitar in its original state, or measure against the other side of the guitar if possible. Consistency is key.
Guitar Headstock Repair Time and Cure Management
Glue cure time varies by adhesive type. Don't rush this step.
Wood glue typically sets to handling strength in 30-60 minutes. Full cure takes 24 hours. Leave clamps on for at least 24 hours.
Hide glue sets faster but also requires 24 hours for full strength.
Epoxy may require 24-48 hours depending on the formulation.
Even after the glue feels hard, the joint isn't at full strength. Leave clamps on for the full recommended time, or the joint may open under string tension.
During cure, keep the guitar in a stable environment. Temperature swings or humidity changes cause wood movement that stresses the new joint.
Common Mistakes to Avoid During Headstock Repair
Learning from others' errors prevents costly failures.
Not cleaning the joint thoroughly. Dust and debris prevent glue penetration, so take time to clean.
Applying glue too thin. Glue needs to flow into the wood. A thin coat just sits on the surface and fails under stress.
Using only one or two clamps. Too few clamps cause uneven pressure and joint shifting.
Removing clamps too early. Glue needs its full cure time.
Misaligning the headstock during glue-up. This is why the dry-fit is critical: verify alignment before glue touches the wood.
Ignoring the neck angle. A repair that looks good but changes the neck angle will cause playability problems.
Over-tightening clamps. Excessive pressure crushes wood fibers and weakens the joint. Firm pressure is enough.
Gluing without a reference. Always have a photo of the guitar's original state to guide alignment decisions.
A broken headstock doesn't have to mean the end of your guitar's life. With careful assessment, proper glue selection, and precise clamping, most breaks repair successfully and hold for decades.
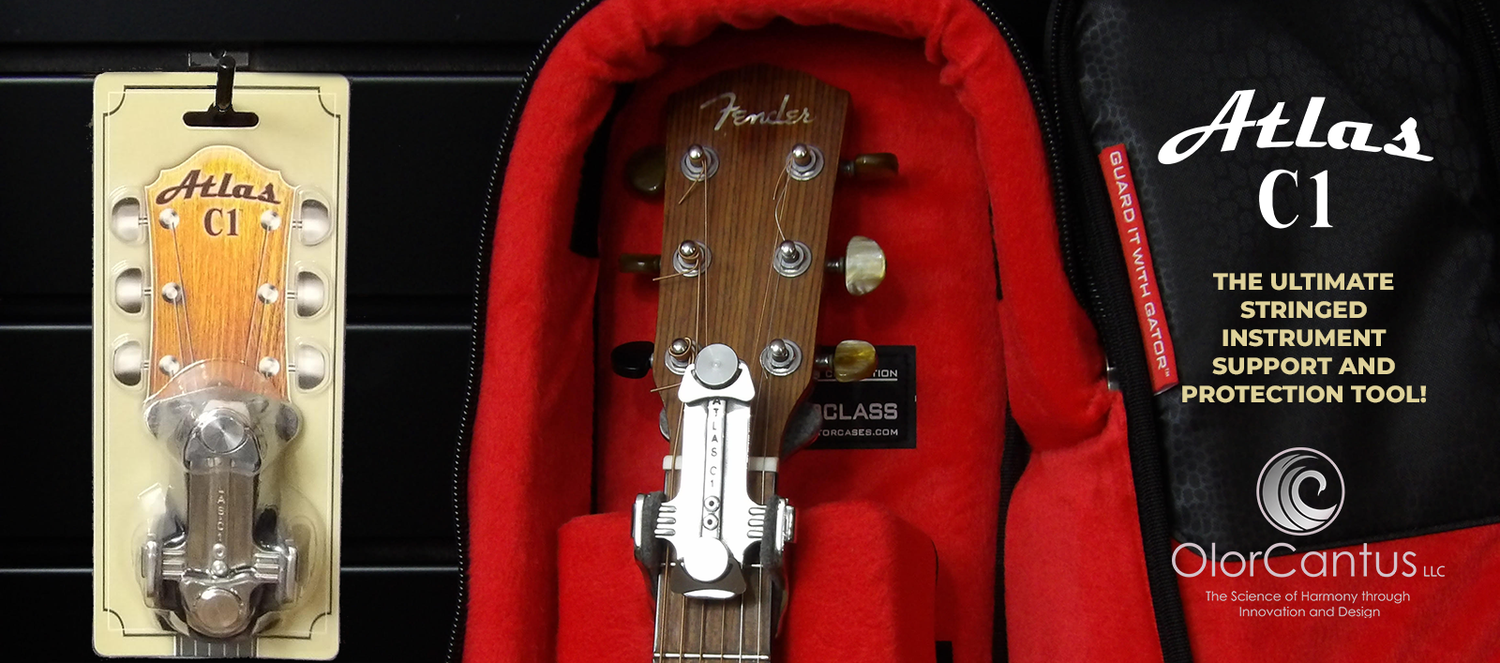
The Atlas C1 headstock repair jig simplifies this entire process by providing pre-aligned support that maintains geometry while the glue cures. Whether you're protecting against future damage during travel or repairing an existing break, the jig ensures your alignment stays true and your repair lasts. Enjoy free shipping on your order and take advantage of a 10% product discount when you get started with the Atlas C1 and give your instrument the protection it deserves.
Frequently Asked Questions
What is the best glue to use for gluing a broken guitar headstock?
Wood glues like Titebond Original work well for clean breaks where the wood surfaces fit tightly. Hide glue offers advantages for vintage instruments because it dries hard with minimal creep. Epoxy provides stronger bonding for severely damaged areas. The choice depends on break type, wood grain alignment, and whether you prioritize reversibility. Always test your chosen adhesive on scrap wood first to understand cure time and clamping requirements.
How long should a glued guitar headstock stay clamped?
Most wood glues require 24 hours of clamping for full strength, though some manufacturers recommend up to 48 hours for structural repairs. Hide glue typically needs 12-24 hours depending on temperature and humidity. After removing clamps, allow an additional 24-48 hours before playing the instrument. Cure time varies by adhesive type and environmental conditions, so always follow the specific product instructions on your chosen glue.
How can you tell if a guitar headstock is misaligned after a repair?
Check string alignment by looking down the neck from the body toward the headstock, strings should sit centered on the frets. Verify neck angle by placing the guitar on a flat surface and checking if the headstock sits parallel to the body. Measure the distance from the headstock volute to the neck at multiple points to confirm symmetry. If the headstock tilts or strings don't track straight, the joint may have shifted during curing. A properly aligned repair maintains consistent string height across all frets.
Can a broken guitar headstock be repaired with glue alone?
For clean breaks with tight-fitting wood surfaces, glue alone can work if the joint is properly aligned and clamped throughout cure time. However, glue without proper clamping or alignment support often results in slipping or misalignment. A headstock repair jig or carefully positioned clamps prevent movement while the adhesive sets. Severe breaks, splintered edges, or loose wood fibers may require reinforcement with dowels or splines in addition to glue for lasting strength.