
Quick Summary
Neck repair quality is judged by checking the headstock joint for gaps and cracks, confirming the neck is straight and the headstock angle is correct, and testing stability under string tension. A repair is done right when it holds tuning for several days, takes a clean setup, and plays evenly across every fret and string.
- Run a fingernail across the headstock joint; a ridge or dip means the surfaces did not mate properly.
- Check neck straightness with a straightedge, since a neck can look straight and still carry a slight twist.
- Restring to pitch and watch for tuning drift, bowing, or a widening gap over several days.
- Measure truss rod relief, action at the 12th fret, and intonation after the repair.
- Allow the glue to cure fully before playing the guitar hard.
Table of Contents
- Why Neck Repair Quality Matters More Than the Fix Itself
- What You Need Before You Inspect the Repair
- Step 1: Inspect the Headstock Joint for Gaps and Cracks
- Step 2: Check Neck Alignment and Angle
- Step 3: Test Neck Stability Under String Tension
- Step 4: Verify the Setup After Neck Repair
- Step 5: Confirm Playability and Sound
- Common Mistakes That Hide Poor Repair Work
- Guitar Neck Repair Checklist You Can Copy
- Protecting Your Repair Going Forward With Atlas C1
- Frequently Asked Questions
7 Checks That Prove a Guitar Neck Repair Is Done Right in 2026
Last Updated: October 29, 2026
Why Neck Repair Quality Matters More Than the Fix Itself
A cracked headstock can make a guitar worthless overnight. A bad repair can make it worse. Neck repair quality is what separates a guitar that plays and sounds like it used to from one that slowly fails under string tension.

Most owners focus on whether the break is closed. The harder question is whether the neck is straight, the joint is solid, and the instrument will hold up after a year of tuning and travel. That is why you need a clear way to evaluate neck repair quality before you pay the bill or pick the guitar back up.
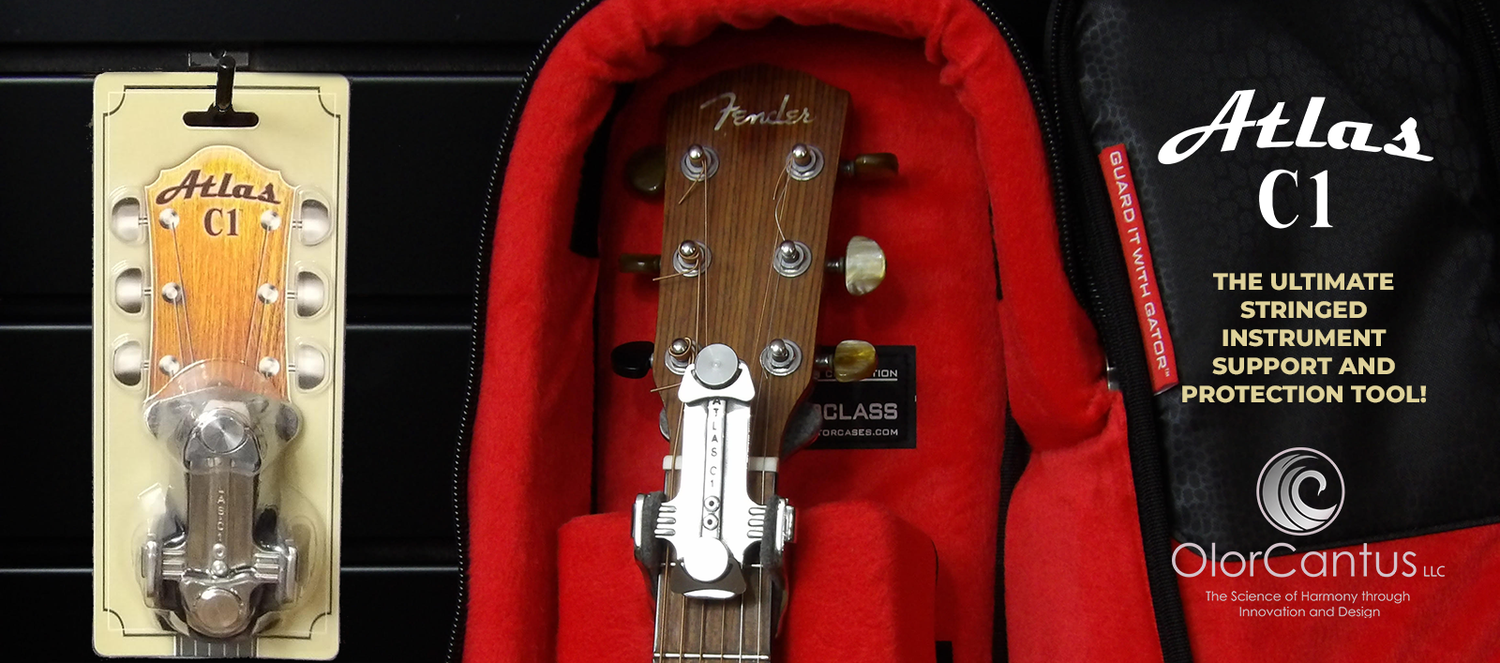
Atlas C1 offers a pre-aligned repair jig for the headstock-neck junction.
What You Need Before You Inspect the Repair
You do not need luthier training to check a repair. You need good light, a few basic tools, and a calm workspace.
- A bright, focused light source, such as a clamp lamp
- A known straightedge or a machinist's ruler
- A feeler gauge set for measuring small gaps
- A soft cloth to wipe away dust and glue residue
- The guitar's original setup notes, if you have them
Set the guitar on a stable surface, with the neck supported so it cannot flex. Take photos before you start. They help you compare the repair against the instrument's earlier condition.
Step 1: Inspect the Headstock Joint for Gaps and Cracks
Start at the headstock joint, where the neck meets the headstock. This is a vulnerable area to inspect after a repair.
Look for these signs:
- Visible gaps along the glue line
- Hairline cracks radiating from the repair
- Glue that looks thick, uneven, or squeezed out in clumps
- Color or grain mismatch that suggests a patch instead of a clean joint
Run a fingernail gently across the joint. A smooth transition is what you want. A ridge or dip means the surfaces did not mate properly.
A common mistake is judging the repair by how clean it looks. A joint can look tidy and still have a hidden gap underneath the finish.
Step 2: Check Neck Alignment and Angle
Next, check whether the neck sits straight and at the right angle. Gibson-style guitars with angled headstocks are especially sensitive here, because the break often shifts the neck's geometry. You can learn how to prevent costly headstock repairs on angled headstocks with support techniques and storage methods.
Place a straightedge along the fingerboard from the nut toward the body. Look for light showing under the edge. Then check the headstock angle against the neck. A repair that shifts this angle changes the string break angle.
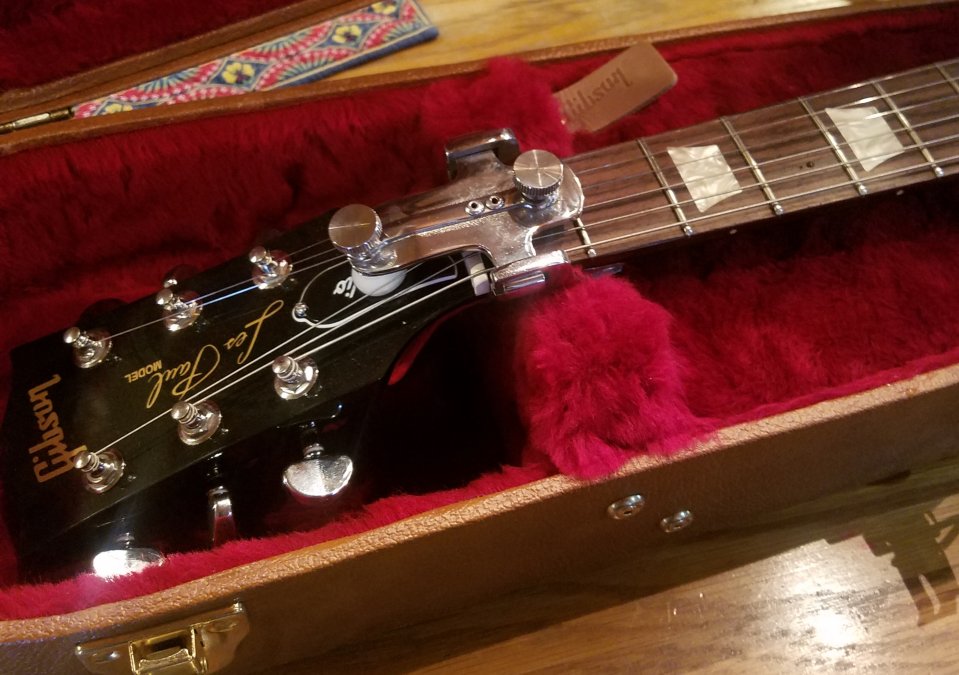
Because a neck repair involves the volute and angle support, this is the stage where support matters most. A repair that holds its alignment during the fix is far easier to verify. Atlas C1 designed its jig to keep the headstock-neck junction pre-aligned while the glue cures, which helps you start with correct geometry. For more on support for angled headstocks, read our guide to preventing costly headstock repairs.
Watch out: Do not judge alignment by eye alone. A neck that looks straight can still carry a slight twist that only a straightedge reveals.
Step 3: Test Neck Stability Under String Tension
A neck can look perfect at rest and still fail under load. Strings exert tension across a guitar, and that pull tests a repair. Our string tension and neck alignment guide explains how that pressure affects your instrument.
After you restring the guitar to pitch, watch the headstock joint and the neck for movement over several days. Check the following:
- Does the tuning drift more than normal?
- Does the neck bow or back-bow as humidity changes?
- Does any gap widen under the tension of the strings?
Retune, let the guitar rest, and measure again. Check whether the repair holds its shape.
Step 4: Verify the Setup After Neck Repair
A repaired neck almost always needs a full setup. Action, relief, and intonation can all shift after a break.
Check these settings:
- Truss rod relief: Sight down the neck with the capo at the first fret and the last fret pressed. Look for a slight, even gap at the middle.
- String height (action): Measure at the 12th fret. Compare it with your preferred height.
- Intonation: Play the 12th fret harmonic and the fretted note. They should match.
If the neck needs heavy truss rod adjustment to get relief, the repair may be hiding a deeper problem. Stop and reassess before you adjust further.
Step 5: Confirm Playability and Sound
The final test is how the guitar plays and sounds. Numbers can pass while the feel stays wrong.
Play every fret on each string. Listen for buzzing, dead spots, or notes that sound flat or sharp in a specific position. Play chords up and down the neck. Check that the tone is even across all six strings.
Compare the sound with the guitar before the break, if you have a recording. Small changes in sustain or brightness can signal that the neck or joint is still settling.
Common Mistakes That Hide Poor Repair Work
Some problems stay hidden until the guitar has been played for weeks. Watch for these:
- Judging only the finish. A clean surface can cover a weak glue line.
- Skipping the setup. A repair with no setup can seem fine until the first humid week.
- Trusting one measurement. Check alignment, tension, and playability together.
- Rushing the cure. Glue needs time. Restring too early and the joint can shift.
- Ignoring storage. Heat, humidity, and sudden temperature changes can open a fresh repair. Learn how to store your guitar without causing neck tension damage.
A repair that passes every test has been checked for these signs.
Guitar Neck Repair Checklist You Can Copy
Use this list to evaluate any neck repair:
- Headstock joint is flush with no visible gaps
- No hairline cracks radiate from the repair
- Neck is straight when checked with a straightedge
- Headstock angle matches the original specification
- Tuning holds steady for several days under full tension
- Truss rod relief is even and within a normal range
- Action and intonation are set after the repair
- All frets play cleanly with no buzz or dead spots
- Tone is even across all six strings
- Repair has time to cure before it is played hard
Protecting Your Repair Going Forward With Atlas C1
The headstock-neck junction is vulnerable during travel, shipping, and storage.
Atlas C1 makes a universal multi-function tool that supports the headstock-neck junction during transport and storage, and it doubles as a pre-aligned repair jig. It is protected by a U.S. patent granted in 2019 and is used by touring musicians, and it is available at Guitar Center. The tool was featured in a Premier Guitar Magazine review.
If you travel with your guitar or store it where stress can build, the Atlas C1 headstock support tool is a practical way to keep a good repair in good shape. Check the Atlas C1 website for current pricing.
For a longer look at stress during storage, see our guide on preventing neck tension damage. And if you want to protect an angled headstock from the start, read our guide on preventing costly headstock repairs on angled headstocks.
Ready to protect your guitar? Visit the Atlas C1 website to get the headstock support tool and keep your repair working for years to come. Shoppers can also take advantage of a 10 % product discount and free shipping.
Frequently Asked Questions
How can you tell if a guitar neck repair is good?
A neck repair can be checked for a tight, gap-free headstock joint, neck alignment, and setup. Check the joint visually and by feel, and sight down the neck with a straightedge. Keep a record of measurements so you can compare them over time.
Can a guitar with a repaired neck break again?
Yes. A repaired headstock joint can fail again. Atlas C1's tool supports the headstock-neck junction during transport and storage.
Should a repaired guitar neck be perfectly smooth?
The fretboard and neck surface should feel consistent and free of ridges or bumps where the repair sits, but a repaired neck does not need to feel like factory finish everywhere. Visual smoothness is one aspect to check.
What should you test after a guitar neck repair?
Check the headstock joint, neck alignment and relief, intonation, and action. Play the instrument at multiple positions and listen for buzzing or dead notes.