
Quick Summary
The safest way to clamp a guitar bridge is to dry-fit and mark its position first, then spread a thin, even layer of acoustic-suited wood glue, use internal and external cauls with padding, and tighten the clamp gradually until a small, consistent bead of glue squeezes out. Leave the clamps on for the label's recommended time, and wait at least 24 hours before removing them. This is how to safely clamp a guitar bridge.
- Dry-fit the bridge and mark its position with pencil lines or painter's tape before any glue goes on.
- Use an internal caul under the bridge and an external caul on top, padded with wax paper.
- Tighten the clamp gradually and look for a small, consistent bead of glue squeeze-out.
- Leave clamps on for the glue label's time and wait at least 24 hours before removing them.
Table of Contents
- What You Need Before You Start: Tools and Clamping Cauls
- Preparing the Guitar and Relieving String Tension
- Checking Whether the Bridge Is Loose and Needs Reglueing
- Cleaning Old Glue and Dry-Fitting the Bridge
- Choosing a Guitar Bridge Clamp or Building a Low-Cost Clamp Jig
- How to Use a Guitar Bridge Clamp: Cauls, Pressure, and Sequence
- Glue Choice, Open Time, and Guitar Bridge Glue Curing Time
- Safety Checks, Finish Protection, and Common Clamping Mistakes
- Booking Your Next Step: Protecting Your Guitar Before and After the Repair
- Frequently Asked Questions
How to Safely Clamp a Guitar Bridge: A Step-by-Step Guide
Last Updated: November 13, 2026
Learning how to safely clamp a guitar bridge is one of the most delicate jobs in home repair. Done right, a loose bridge goes back on solid and stays there for years. Done wrong, you can crack the top, dent the finish, or pull the bridge out of alignment. This guide from Atlas C1 walks you through the process from start to finish, so you know what to do, what to avoid, and when to stop and call a professional.
A bridge clamp is a tool that holds a glued bridge firmly against the guitar top while the glue cures. Pressure is the key word. Too little and the joint stays weak. Too much and you risk crushing the top or pushing the bridge out of position. The goal is even, controlled pressure across the whole bridge footprint.
What You Need Before You Start: Tools and Clamping Cauls
Gather your materials before you touch the guitar. Stopping mid-glue to hunt for a clamp is how mistakes happen.
- Clamps with enough reach to span the bridge, such as deep-throat or C-clamps
- Cauls made from hardwood or a rigid material, shaped to match the top's curve
- Padding such as cork, felt, or a soft cloth to protect the finish
- Wax paper or painter's tape to keep glue from sticking to the caul
- Wood glue suited to acoustic instruments, plus a damp rag for squeeze-out
- A soft brush or plastic scraper for cleaning old glue
- A helper, because a second person makes alignment far easier
Cauls spread pressure across the bridge instead of letting one clamp jaw concentrate force on a single spot. An internal caul sits inside the body under the bridge plate, while an external caul sits on top of the bridge. Many repairs use both. Check that your caul is slightly curved to match the top, so it does not rock and create hot spots.
Preparing the Guitar and Relieving String Tension
Start by taking the guitar out of its case and placing it on a padded, stable surface. A folded towel on a workbench works well. Keep the body supported so the neck does not flex under its own weight.
Remove the strings. This takes the load off the bridge and gives you clear access to the saddle and bridge area. Loosen each string evenly, then unwind it from the tuning post. Many repairers also remove the saddle at this stage so it does not shift during clamping.
A common mistake is loosening the strings in one quick pass. Release tension gradually, and the bridge will stay put while you work.
Checking Whether the Bridge Is Loose and Needs Reglueing
Before you clamp anything, confirm that the bridge actually needs reglueing. Press gently on the bridge wings and look for gaps along the edges where the bridge meets the top. Shine a light along the seam. A lifted edge, a dark line, or movement when you press are all signs of a failed glue joint.
Look for cracks in the top near the bridge, too. If the top is cracked or the bridge has lifted with a chunk of wood still attached, reglueing alone may not fix it. In that case, stop and talk to a qualified luthier. Forcing a clamp onto a structural crack can make the damage worse.
Pro tip from repair shops: check the saddle height and bridge-pin holes at the same time. If the bridge has been moving for a while, the saddle may also need attention after the glue cures.
Cleaning Old Glue and Dry-Fitting the Bridge
Old glue has to go before new glue can bond. Use a plastic scraper or a soft brush, and avoid metal tools that can gouge the top. Work gently and stop if you feel resistance that could damage the wood. A little warm water on a cloth can help soften stubborn residue, but keep moisture away from the finish and the wood as much as possible.
Next, dry-fit the bridge. Set it in place without glue and check its alignment against the saddle slot and the centerline of the guitar. Make sure the bridge wings sit flat. If the bridge sits crooked when dry-fitted, fix that now. Gluing a misaligned bridge is much harder to correct later.
Mark the bridge position with light pencil lines on the top, or use painter's tape, so you can put it back exactly where it belongs.
Choosing a Guitar Bridge Clamp or Building a Low-Cost Clamp Jig
Clamp choice depends on your guitar's body size, bridge footprint, and soundhole access. The wrong clamp either cannot reach the bridge or concentrates force in one spot. Here is how the common options compare.
Deep-throat C-clamps have a throat depth of 6 to 8 inches, enough to span a dreadnought or jumbo body and reach the bridge through the soundhole. Look for a clamp with a wide, flat pressure pad (at least 1 inch across) so the load spreads over the bridge wings. The trade-off is weight: a heavy clamp can tip the guitar, so support the body firmly.
Bridge clamps are purpose-built with two or three pressure points that straddle the bridge and bear on the top on either side. They self-center and are less likely to slip, but they fit only a narrow range of bridge widths. Measure your bridge before buying.
Bolt-through-pin-hole setups use the existing bridge-pin holes to pull the bridge down with bolts and washers from inside the body. This gives excellent alignment and even pressure, but it requires access through the soundhole and careful padding to avoid crushing the bridge plate. It is a common approach when the bridge has lifted across its full width.
Improvised jigs can work if built carefully. A hardwood caul shaped to the top's curve, a threaded rod or carriage bolt, and wing nuts let you apply pressure from above. Pad every contact point with cork or leather. Test the jig on scrap wood first, and check that the caul does not rock, rocking creates hot spots that can dent the top.
Watch out: a clamp that is too short will bear on the soundhole edge instead of the bridge, and tightening it can crack the top. Dry-fit the clamp before any glue is applied and confirm the pressure pad sits centered on the bridge with clearance on all sides.
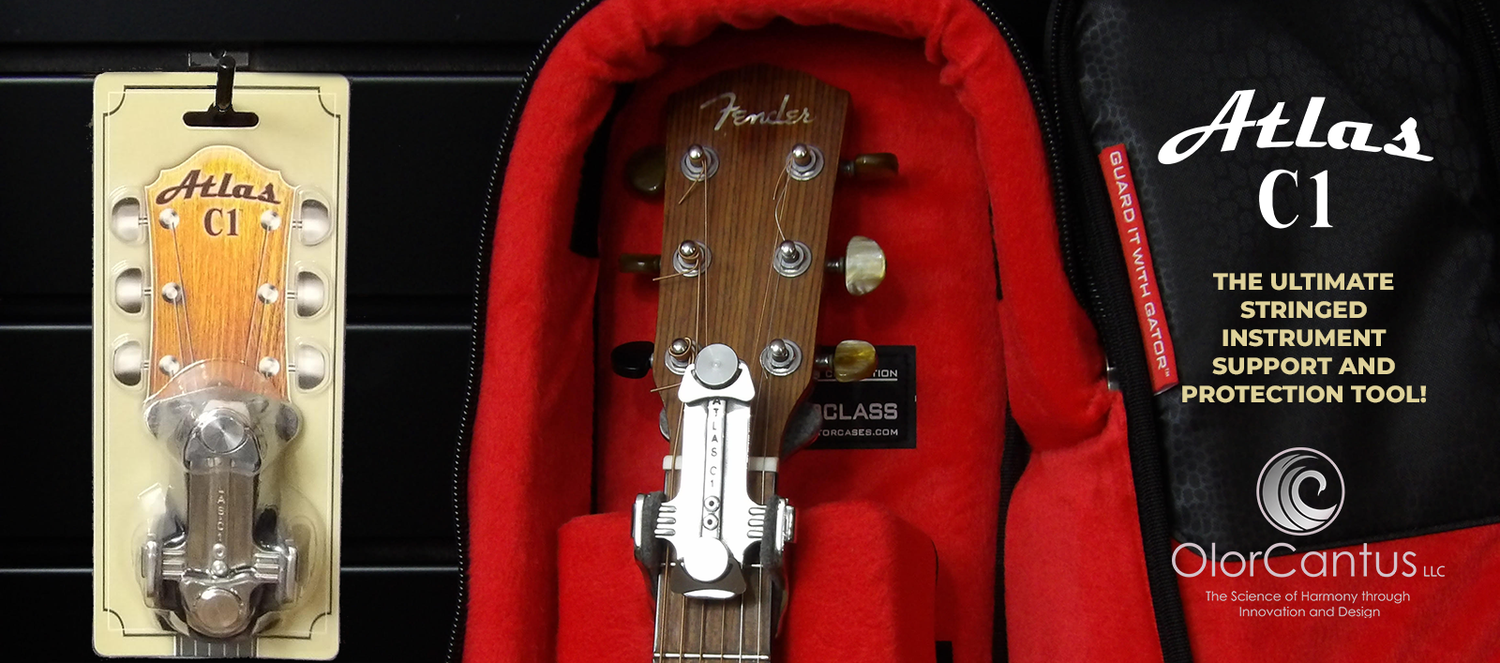
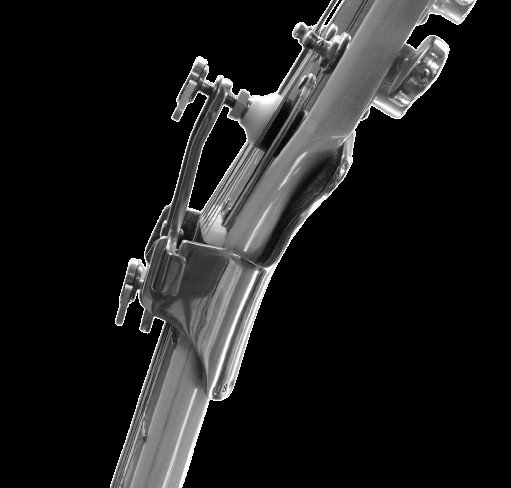
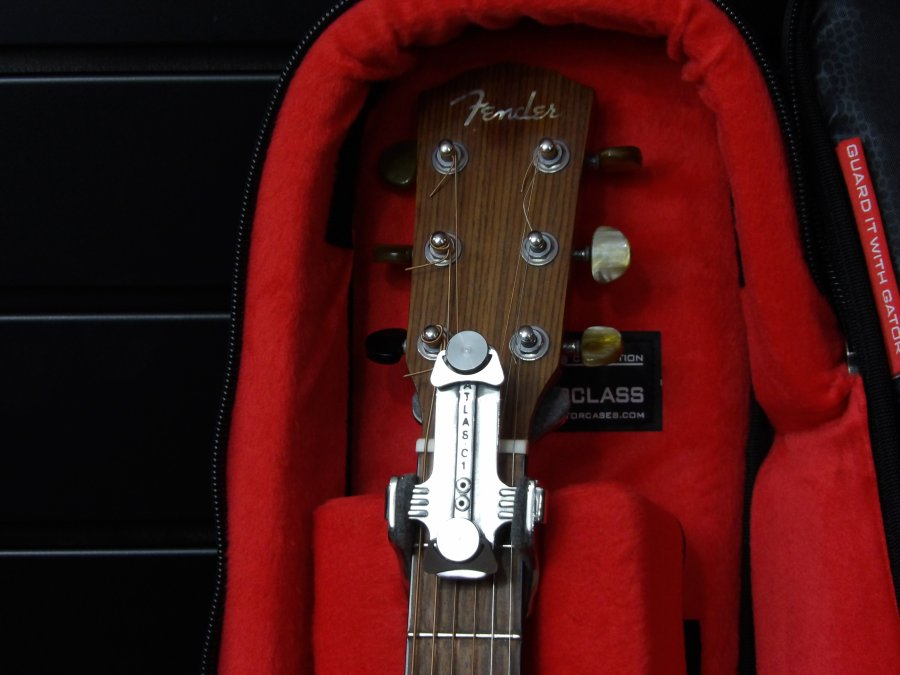
Atlas C1 makes a purpose-built support and protection tool for headstock and neck work. For a bridge clamp, you still need an appropriate clamp and caul. For current Atlas C1 pricing and offers, visit the Atlas C1 website.
How to Use a Guitar Bridge Clamp: Cauls, Pressure, and Sequence
Work in a clear order. Here is the sequence we recommend:
- Place the internal caul inside the body under the bridge location.
- Apply a thin, even layer of glue to both the bridge base and the top.
- Set the bridge on the marked position, aligned with your reference lines.
- Place the external caul on top of the bridge, with padding and wax paper between it and the wood.
- Position the clamp so the pressure pad sits centered over the bridge.
- Tighten gradually. Snug each clamp, then add pressure in small steps.
- Check alignment after every adjustment, and wipe away squeeze-out right away.
Use firm, even pressure. You want to see a small, consistent bead of glue squeezing out along the edges. No squeeze-out usually means too little glue. A large gush suggests too much pressure or too much glue, and you should back off slightly.
A helper makes step 3 much easier. One person holds the bridge in position while the other sets the clamp.
The steps below summarise the clamping sequence covered in this section.
| Step | What to do | Check |
|---|---|---|
| 1 | Place internal caul under bridge location | Caul sits flush inside body |
| 2 | Spread thin, even glue layer | Both bridge base and top covered |
| 3 | Set bridge on marked position | Aligned with reference lines |
| 4 | Add external caul with padding | Wax paper between caul and wood |
| 5 | Centre clamp pressure pad over bridge | Clearance on all sides |
| 6 | Tighten gradually in small steps | Small, consistent bead of squeeze-out |
| 7 | Re-check alignment and wipe squeeze-out | No bridge wing lifting |
Glue Choice, Open Time, and Guitar Bridge Glue Curing Time
Use a wood glue made for acoustic instruments. Hide glue is traditional and reversible, which matters for future repairs. Yellow carpenter's glue is common and works well for many bridge jobs. Check the label for open time, which is how long you have to position the bridge after spreading glue. Work quickly if the open time is short.
Curing time depends on the glue and the room temperature. Leave the clamps on for the time listed on the label, and then give the joint extra rest before you string the guitar. Many repairers wait at least 24 hours before removing clamps and longer before restringing. Do not rush this step. A bridge that looks solid can still be curing underneath.
Keep the guitar in a stable room. Big swings in humidity can stress a fresh glue line.
Safety Checks, Finish Protection, and Common Clamping Mistakes
Protect the finish and the structure at every step. Put wax paper or painter's tape under every contact point, clamp jaws, cauls, and any padding. Wipe up glue squeeze-out with a damp cloth before it dries; dried glue can pull finish off when removed.
Pressure is the most common source of damage. You want a small, even bead of glue to squeeze out along the entire bridge perimeter. No squeeze-out means too little pressure or too little glue. A gush means too much pressure or too much glue, back off slightly and wipe up. Never tighten a clamp until it stops; firm, snug pressure is enough. If you hear a creak or see the top bulge, loosen immediately.
Check alignment after every adjustment. The bridge should sit exactly on your pencil lines or tape marks, with equal margins on both sides. Press down on each bridge wing in turn, if one side lifts while the other stays down, the caul is rocking or the clamp is off-center. Reposition before the glue sets.
Other common mistakes include:
- Uneven pressure, which causes one side of the bridge to lift
- Skipping the caul, which concentrates force on a small area
- Clamping before the bridge is aligned, which locks in a crooked position
- Removing clamps too early, which breaks the fresh bond
- Using the wrong glue, which may not hold on acoustic wood
After the glue cures, check the bridge for movement, look for cracks, and confirm the saddle height and string action. If anything seems wrong, stop and contact a luthier.
Booking Your Next Step: Protecting Your Guitar Before and After the Repair
A bridge repair is a good time to think about protection. Store the guitar in a case with a humidity control pack, and avoid leaving it near windows or heaters. If you travel with your instrument, a sturdy case and proper support make a real difference.
If you are unsure about any step, or if the damage goes beyond a simple reglue, a professional repair is the safer choice. Many repair shops and independent luthiers will assess the job and quote the work, and you can ask them about current pricing for your specific guitar.
For more on protecting your guitar during repairs and travel, read our guide on how to fix a broken guitar headstock, which covers the support and alignment steps in depth. Atlas C1 has put together these resources to help guitarists keep their instruments safe, whether you are doing the work yourself or planning ahead.
Atlas C1 designs tools for the careful repair and protection of the instruments you love. Atlas C1 is a U.S. patent-protected universal multi-function tool that doubles as a pre-aligned repair jig for headstock breaks. For current pricing, visit the Atlas C1 website. Long Live the Six String™ The Science of Harmony through innovation and design.
Frequently Asked Questions
Can you reglue a guitar bridge without removing it?
In many cases the bridge can be reglued without full removal, but only if it has lifted slightly and the bridge plate and soundboard beneath it are intact. Clamping access, glue reach, and the risk of damaging the finish all affect this decision. Check the bridge for movement first. If the bridge lifts or the bridge pins loosen with light pressure, a repair is likely needed. Work carefully, protect the finish with paper or tape, and use cauls to spread pressure evenly. If the bridge has been pulled away from the top or the soundboard has cracked, stop and consult a repair professional before clamping.
How much clamping pressure does a guitar bridge need?
The goal is firm, even pressure that closes the glue joint without crushing the top or pulling the bridge out of alignment. Snug the clamp until glue squeezes evenly from the joint, then stop. Over-tightening can dent the soundboard, distort the bridge, or force glue out of the joint, starving it. Check alignment after each adjustment and confirm the bridge sits square to the saddle line. Use a wooden caul beneath the bridge plate to distribute force across the full footprint rather than concentrating it at one point.
How long should a guitar bridge stay clamped while the glue cures?
Keep the bridge clamped until the glue has reached a stable set, which depends on the adhesive used and the room temperature and humidity. Many wood glues need several hours of clamp time before the bridge can be handled, and full strength develops over a longer cure period. Check the manufacturer's data sheet for open time and cure time, and do not restring or apply string tension until the glue has fully cured. Test the bridge gently by hand before restringing to confirm it does not move.
How do you protect a guitar top when clamping a bridge?
Place a layer of wax paper or painter's tape between the caul and the finish, and keep clamp pads away from the soundboard. Remove any glue squeeze-out promptly with a damp cloth rather than letting it dry on the finish. Avoid placing the clamp jaws directly on lacquer or poly. If the finish is high-value or vintage, consider working with a professional technician, since a small slip can scratch or crack the surface.